The Ultimate Guide to Car Scratch Repair
Car scratches can be a real eyesore for every car owner and will not let you sleep well. Moreover, car scratches can decrease the value of your car when you try to sell it. Hopefully, car scratch repair is not as complicated as you might think, especially with the right instructions and techniques. In this article, I want to cover all you need to know about car scratch removal, types of scratches, what can cause them, and how to remove them using DIY and professional methods. I will also provide you with tips to prevent car scratches appearance.
Table of Contents
- Understanding Car Scratch Repair: Types of Scratches
- DIY Car Scratch Repair: Step-by-Step Guide
- Professional Car Scratch Repair: Paint Correction, Wet Sanding, and Machine Polishing
- Prevention Tips: How to Avoid Car Scratches
- Conclusion
Understanding Car Scratch Repair: Types of Scratches
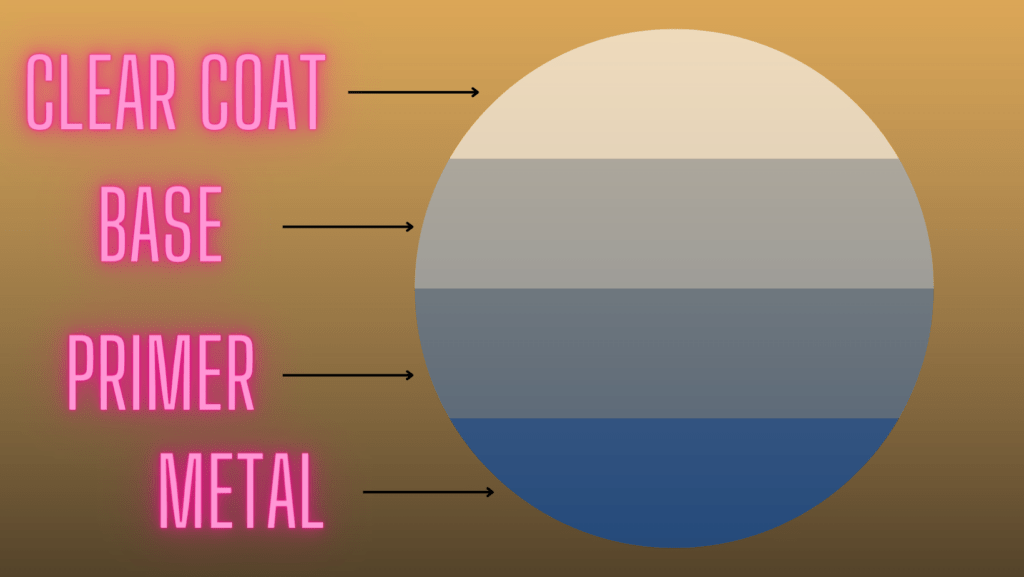
Professionals who work with paint correction divide scratches by severity into five levels: 1A, 1B, 2, 3, and 4. The least severe car scratches are 1A, and the most severe is 4. Identifying the scratch type is crucial when you do paint correction or polishing to achieve proper results for professionals.
For amateurs and car guys who would like to take care of their car paint condition, these levels don’t tell a lot. I want to explain more about the types of scratches on car paint simpler so that even if it’s your first time, you will easily find out what type of scratch you have. There are three main types of car paint scratches.
1. Clear coat car scratch. Swirls.
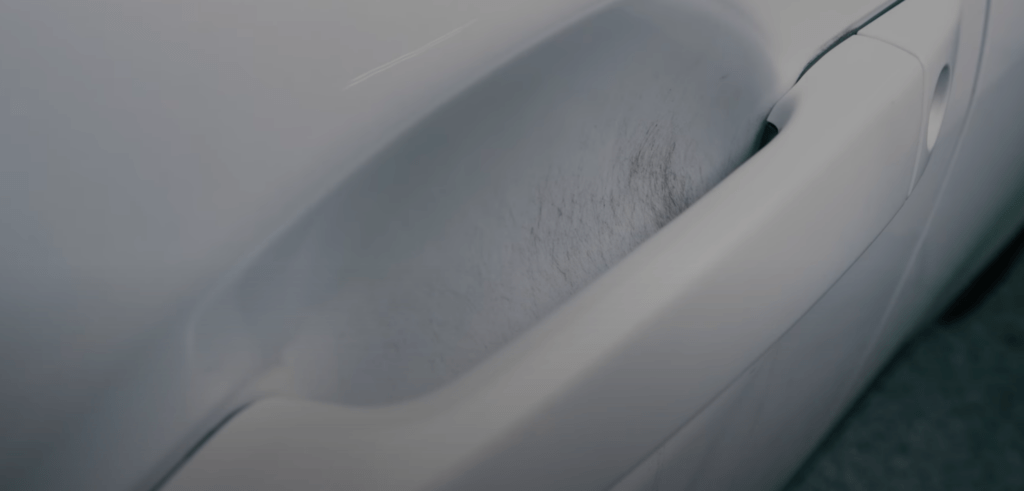
What is a clear coat scratch?
A clear coat is a thin layer that protects your car paint from all harmful surrounding factors, such as UV lights, water, road chemicals, and so on. It is the most common type of scratch you can find on nearly every car you will see on the streets. Scratches on a clear coat mean that the protective layer is damaged, and it’s better to restore it or cover it with wax as soon as possible to restore protection on lower layers of car paint.
Reasons of clear coat scratches
As mentioned, you can get clear coat scratches literally from everything. Some of them you will never notice without looking under the right angle and with proper light. If we concentrate on noticeable scratches of clear coat, common reasons will be:
- Grains of sand at high speed. Usually, it happens on highways when you follow the car in front. The vehicle in front lifts dust and sand grains. Lifted sand grains leave scratches on your car when you go through them at speed.
- Mistakes in car washing. Some car owners and low-quality car washes, instead of washing a car properly, can wash their vehicles while there is dirt on them, using a brush or sponge that will leave swirls on it. Using automatic carwashes with brushes does the same. Check our step-by-step guide on how to use self-service car wash.
- Removing snow from a car with ice scrapers or brushes. If you want to protect a sensitive clear coat, avoid any physical impact, even when you use “scratch free” brushes.
- Using cheap or dirty drying towels. Dirty towels can have a lot of sand grains in them, and when you use them on your car, you scratch them. Our list of best drying towels.
- Leaning on your car when it’s covered with dust or dirt.
- Nails. Look behind the door handles on your car, and you will find many scratches of clear coat that passengers leave while opening doors.
There are many other reasons why a clear coat can get scratched. This layer is sensitive, so be careful with it, and try minimizing any physical impact on your clear coat. Writing words on a dusty car, placing drinks and food on it, sliding across the hood of a car like an 80s movie superstar, all these lead to clear-coat scratches.
2. Primer car scratch
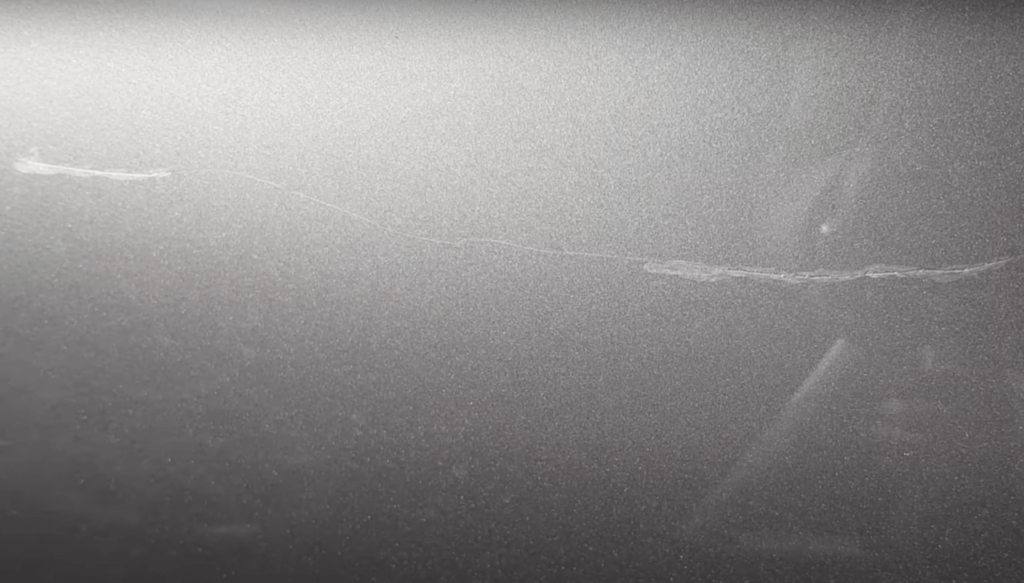
What is a primer scratch?
Under the clear coat, there is a base coat of car paint. Usually, people think that car paint is a base coat because this layer gives the main color to your car. Under the base coat, we have a primer coat, which is another protective coat that helps the base coat hold better on the car body and makes the surface smoother. When you get a scratch that removes the clear coat and the base coat, we call it a primer scratch. In simple words, when you see the white matte color inside the scratch instead of the color of your car, my congrats, you reached the primer coat.
Reasons for primer scratches
This type of scratch is not as easy to get as clear coat scratches, but car owners, unfortunately, face such problems often as well. The clear coat and base layer are soft, so you don’t need a lot of strength to remove them. Commonly reasons for primer scratches are:
- Small impacts on the road or parking lot. Low-speed accidents with other cars or objects can leave primer scratches.
- Sand grimes and small rocks at high speed. Same as with clear coat scratches, but you need to catch a bigger rock or drive with a higher speed to scratch two coatings.
- Branches of trees and bushes. Sometimes when you drive off-road or even on streets, you have to go through branches, which will, for sure, scratch a clear coat, and some branches will damage even the base coat.
3. Paint car scratch
What is a paint scratch?
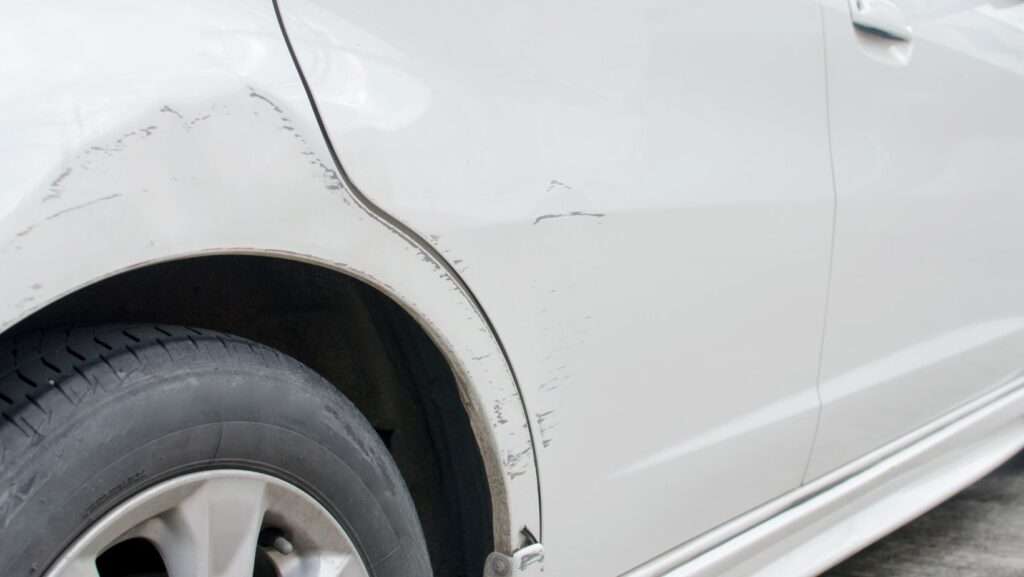
This type of scratch is the most severe you can get on your car but the easiest to find out. When you see that scratch reaching your car’s metal, it means you have a paint scratch. This type of scratch is the hardest one to remove and fix. It means that all protective layers of your car paint were removed. If you will not fix it as soon as possible, such scratches will get rusted and can start the destruction process of paint nearby pretty fast.
Reasons for paint scratches
The reasons for paint scratches can be the same as primer scratches, just with a higher impact. It’s not so simple to remove all paint layers to the metal without applying force to it. The main reasons are:
- Road accidents. Sometimes even low-speed accidents can lead to paint scratches.
- Rocks on highways.
- Vandalism. Unfortunately, we do not have guarantees that a neighbor kid will not throw a rock in your car or somebody will not scratch your car with a key because he finds your parking style bad and so on.
DIY Car Scratch Repair: Step-by-Step Guide
As a car owner, I know that car scratches are a scary and frightening reality that affects the appearance of your car and sometimes even its value. Professional car paint repairs can be costly, so with this guide, I want to share with you an affordable and straightforward DIY solution for car scratches repair. If you are doing it for the first time and you have a scratch in a visible place on your car, practice before repairing scratches! For practice, you can buy used body parts and remove scratches on them first. These parts can be from any car and in any condition, the main point is that it has clear coat paint.
1. Clear coat car scratch repair
Step 1: Clean the Area
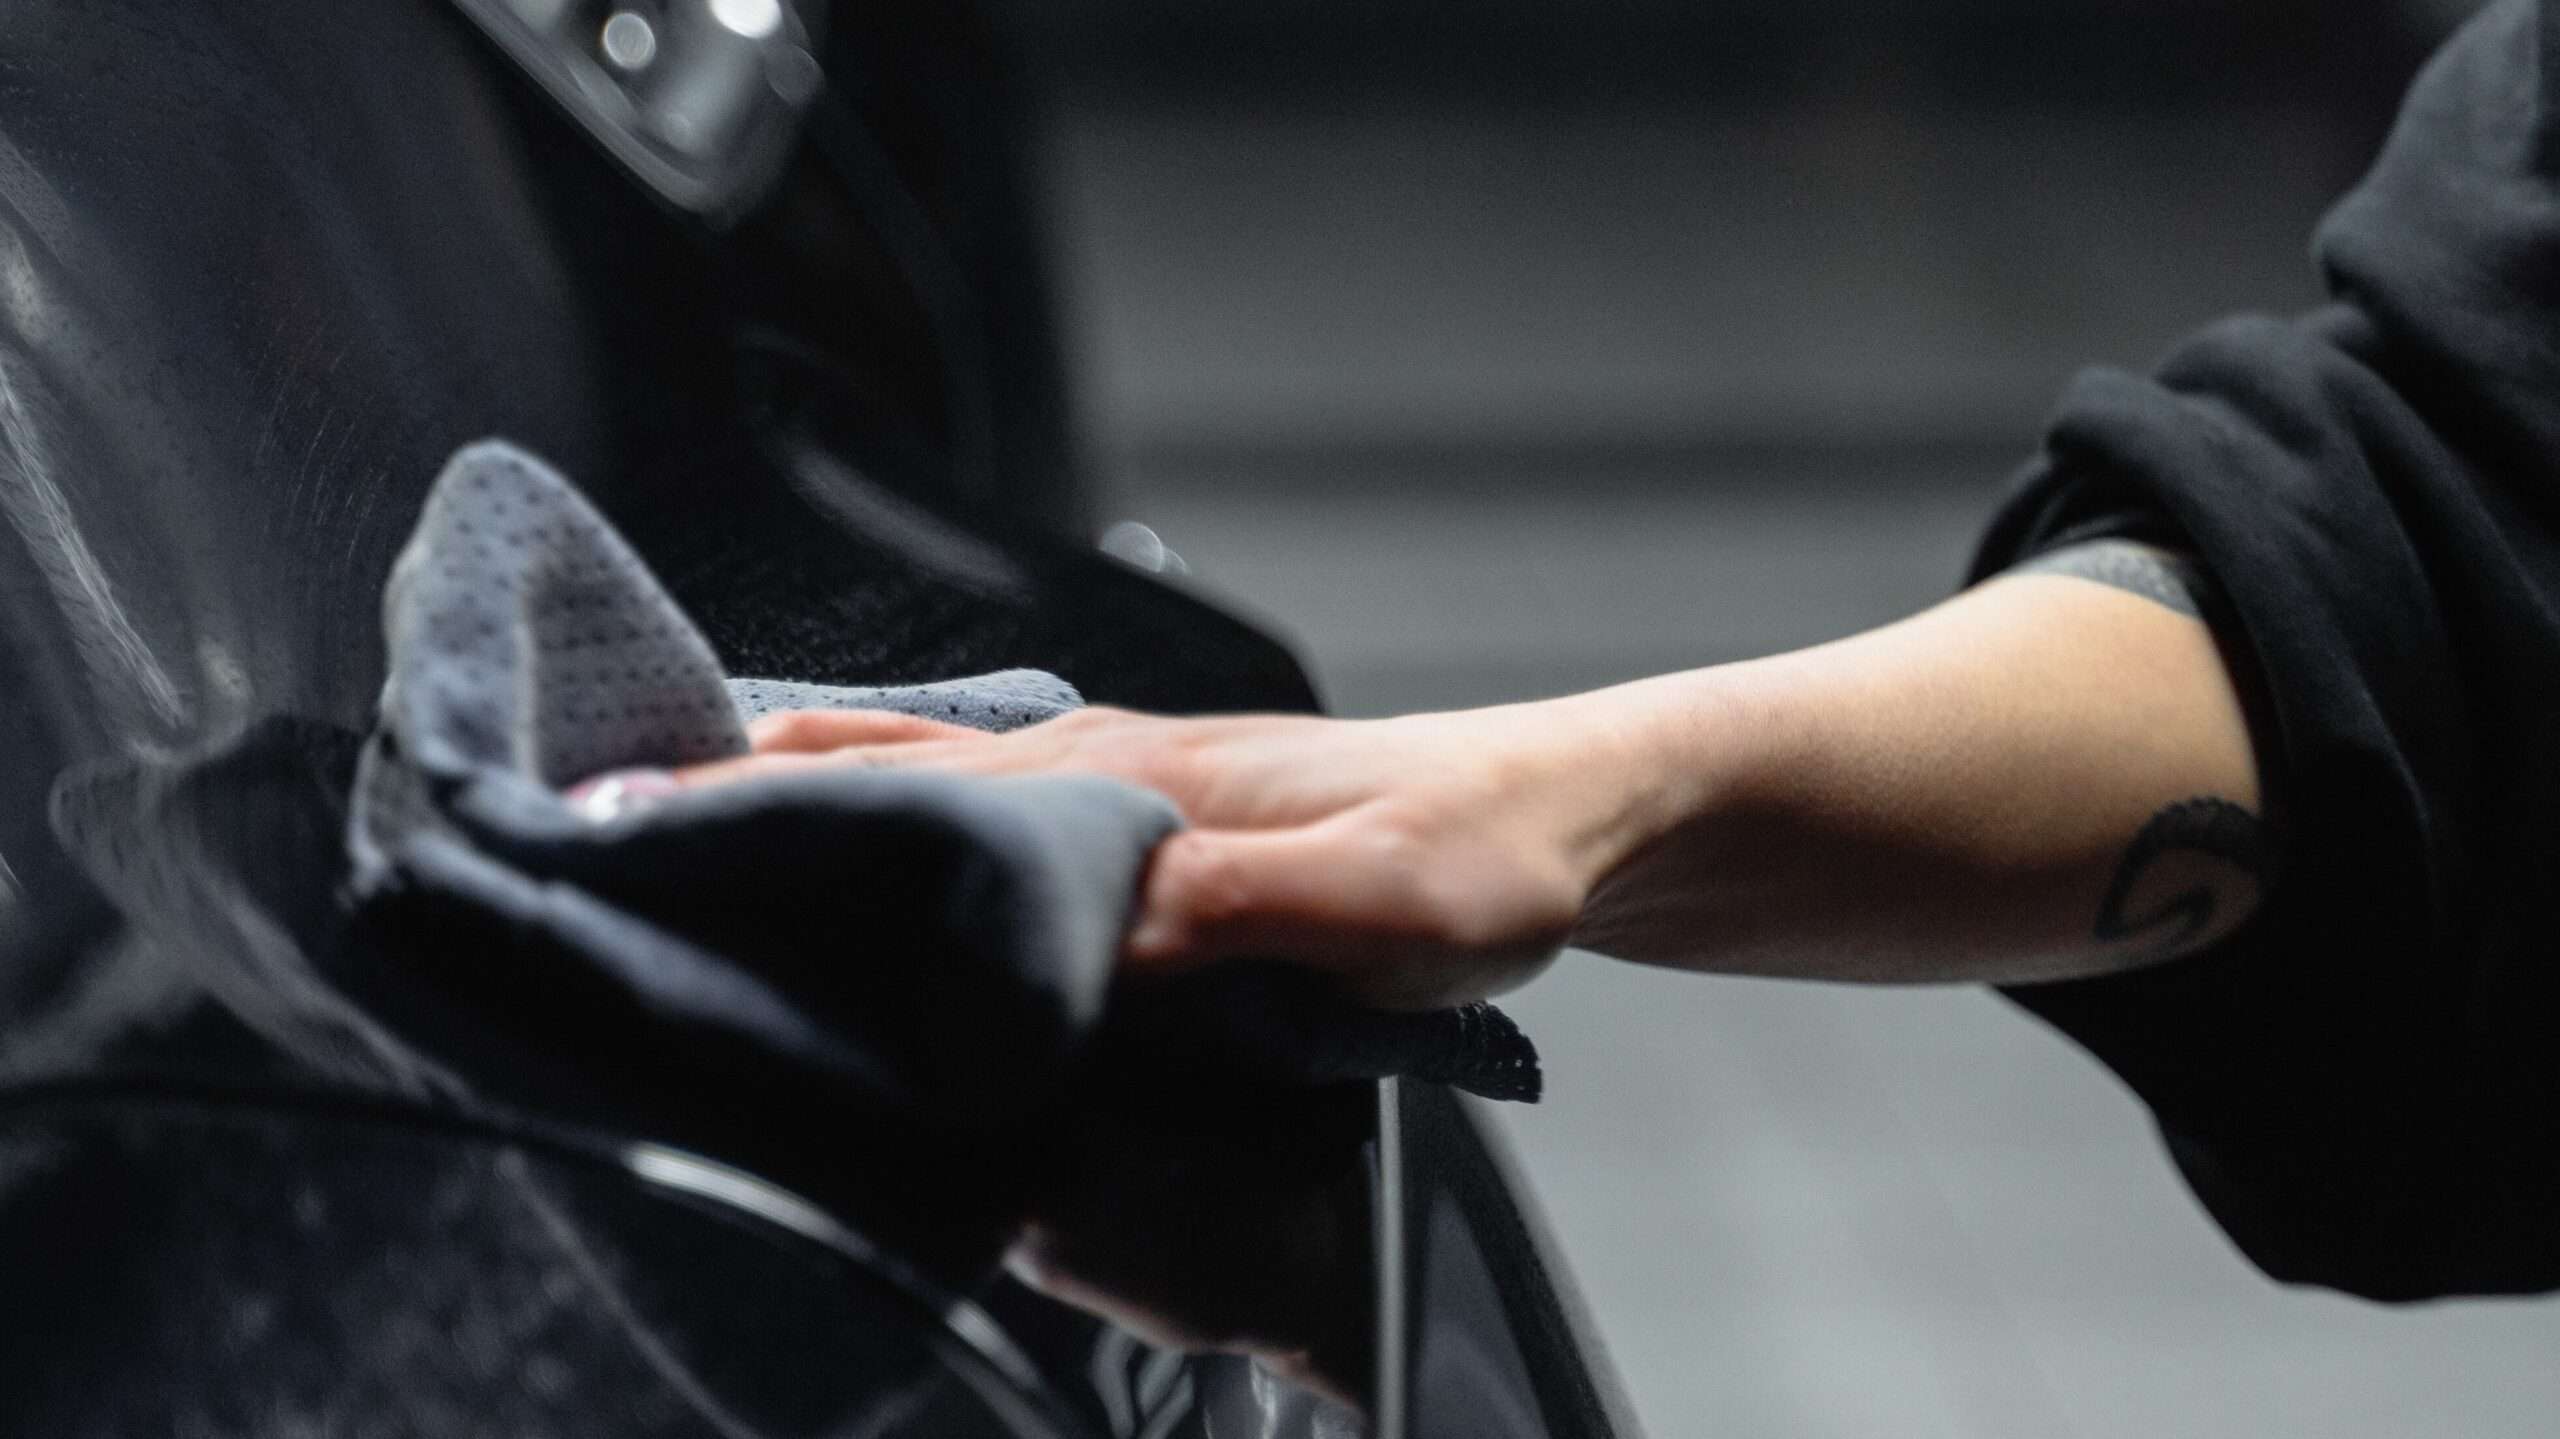
Before starting any repair job, you need to be sure that the surface where you are planning to work on is clean and oil-free. Use a clean microfiber towel and soapy water to remove all dirt, debris, or wax from the scratches.
Step 2: Apply Scratch Remover Compound
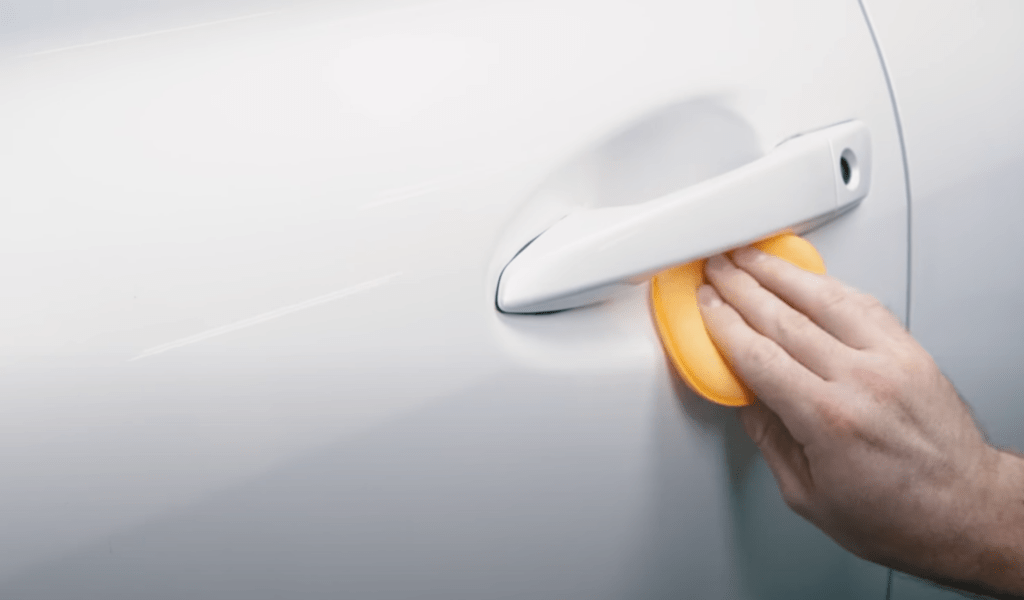
For clear coat repair, you can use one-step clear coat compounds to remove such types of scratches. You can find such compounds in every car care brand. Usually, they call it scratch remover. Apply compound on a dry scratch area and buff it off with a clean microfiber towel. Repeat the process until the scratch is no longer noticeable.
Step 3: Apply Wax
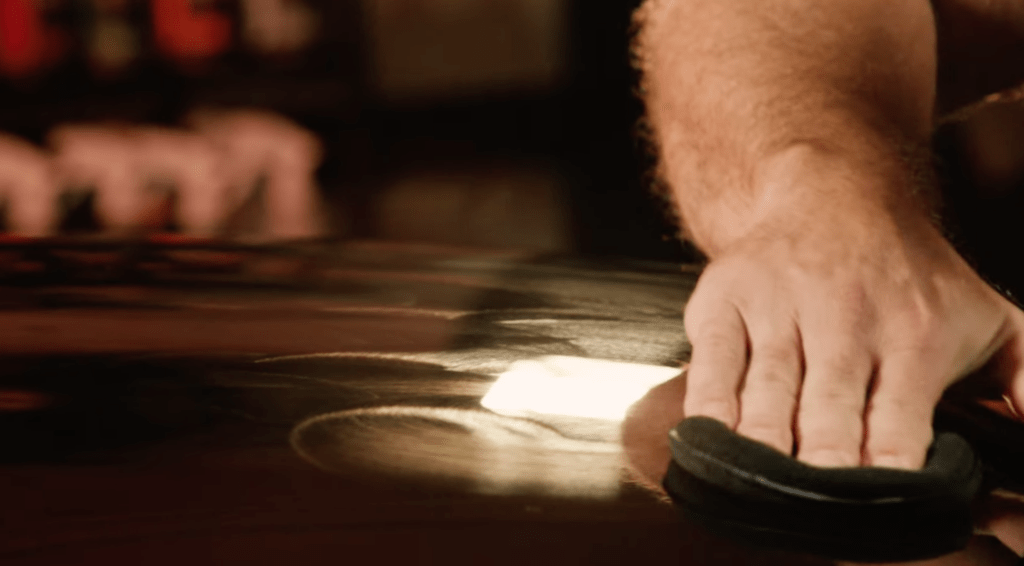
Using compounds to remove scratches means that we remove clear coat levels on several microns. It’s not critical, but we want our car to be safe, so we need to recover the protective layer and protect the clear coat. For this, apply wax on your auto. It will help to seal the surface and protect it from further damage.
2. Primer car scratch repair
To repair primer scratches, you will need touch-up paint that matches your car color and a clear coat. We will need to restore the base coat of car paint using touch-up paint and restore a clear coat. You can find touch-up paint and a clear coat in any automotive shop or your local dealership. Usually, touch-up paint is sealed as a pencil where you have base coat paint on one end and a clear coat on the other. It is a convenient format for removing not massive scratches.
Step 1: Clean the Area
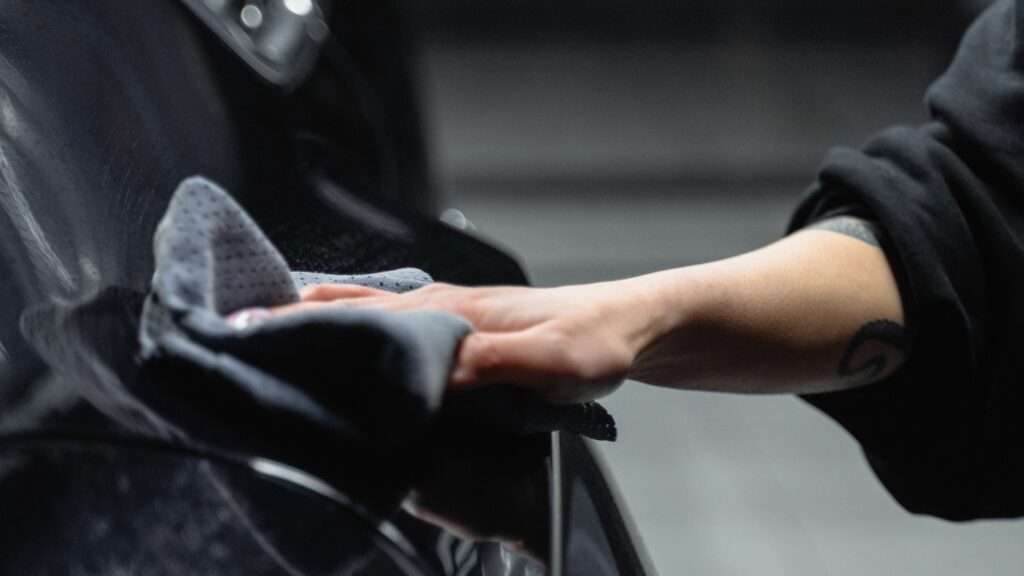
The first thing before starting any repair work is to prepare and clean the surface. Usually, using a clean microfiber towel and soapy water is enough to prepare primer scratch for repair. It will remove all wax, oil, and debris. In some cases, to make the scratch surface smoother, use sandpaper inside the scratch or on its edges.
Step 2: Apply Touch-Up Paint
Once the scratch area is dry, you can apply touch-up paint to it. Choose to match your car color touch-up paint and apply it carefully to the scratch using a small brush or a pen. You need to fill the scratch with paint without going above the surface. Allow the paint to dry completely before moving to the next step. Drying can take around 48 hours.
Step 3: Apply Clear Coat
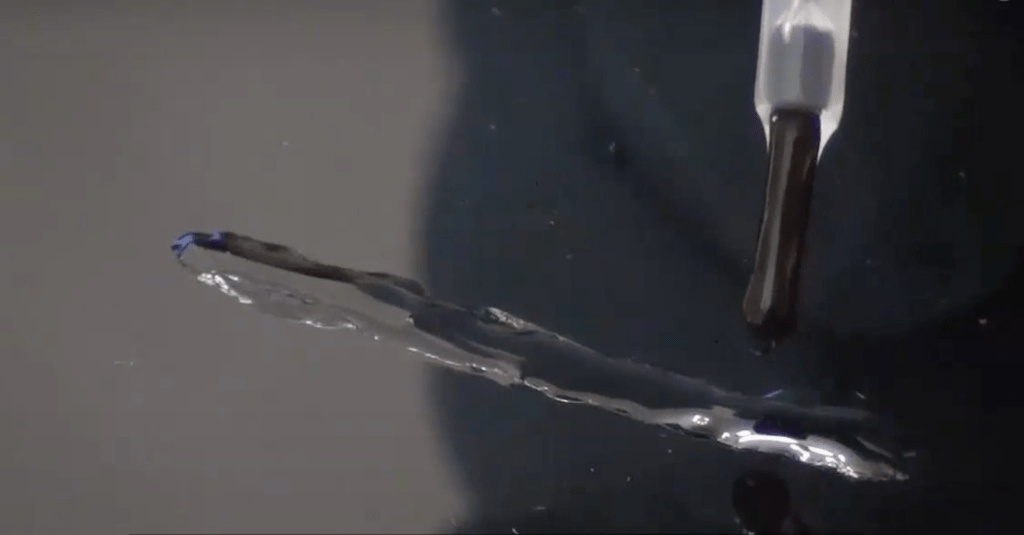
To protect a repaired area, cover the scratch with a clear coat. Apply it using a small brush, and be sure that after applying a clear coat, repaired area is a bit above the surface. Let it dry completely. Drying can take around 48 hours.
Step 4: Sanding and compounding
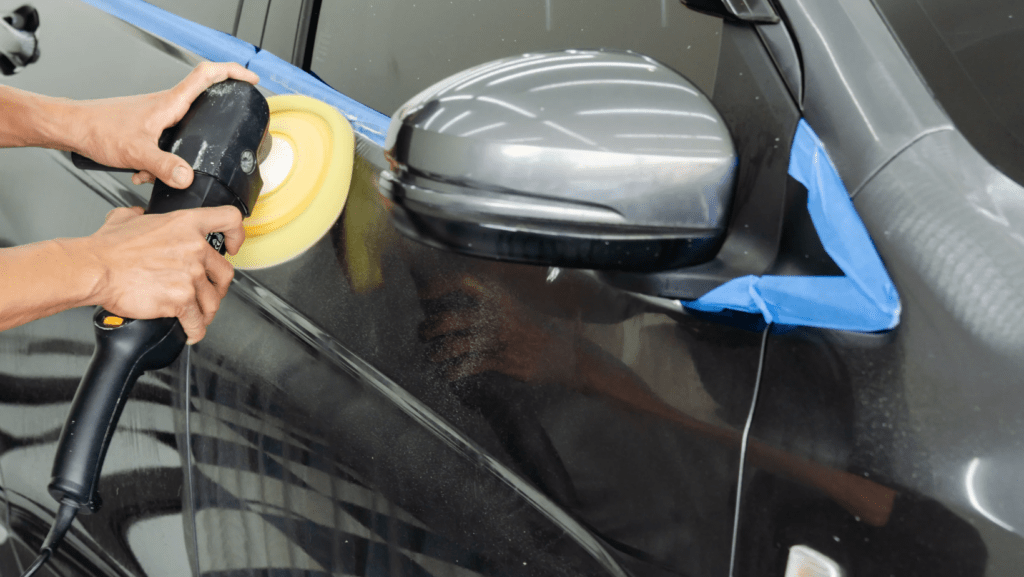
Using 3000-4000 grit sandpaper, level up the repaired area to the surrounding paint level. Be accurate, and make sanding bit-by-bit, otherwise, you can go too deep, and you will need to start the process from the beginning.
Pick a suitable compound and polisher pad for your paint, and using a polisher or by hand, flatter the surface after sanding. When you compound your scratches, make it on a wider area than you use for sanding. For a complete look, you can make a light polishing.
3. Car paint scratch repair
Paint scratches are the hardest type of scratch to repair. It means that all protective layers of your paint are removed, and you can see the metal of a body part. Repairing paint scratches requires experience in scratch repair to make the results of such repair invisible. If it’s your first time, practice before making it. You will need primer and touch-up paint that matches your car’s color.
Step 1: Clean the Area

Before starting any repair job, we need to be sure that the scratch area is free from waxes, oils, dirt, and debris. Using a clean microfiber towel and soapy water, clean the scratch area and let it dry.
Step 2: Sand the Area
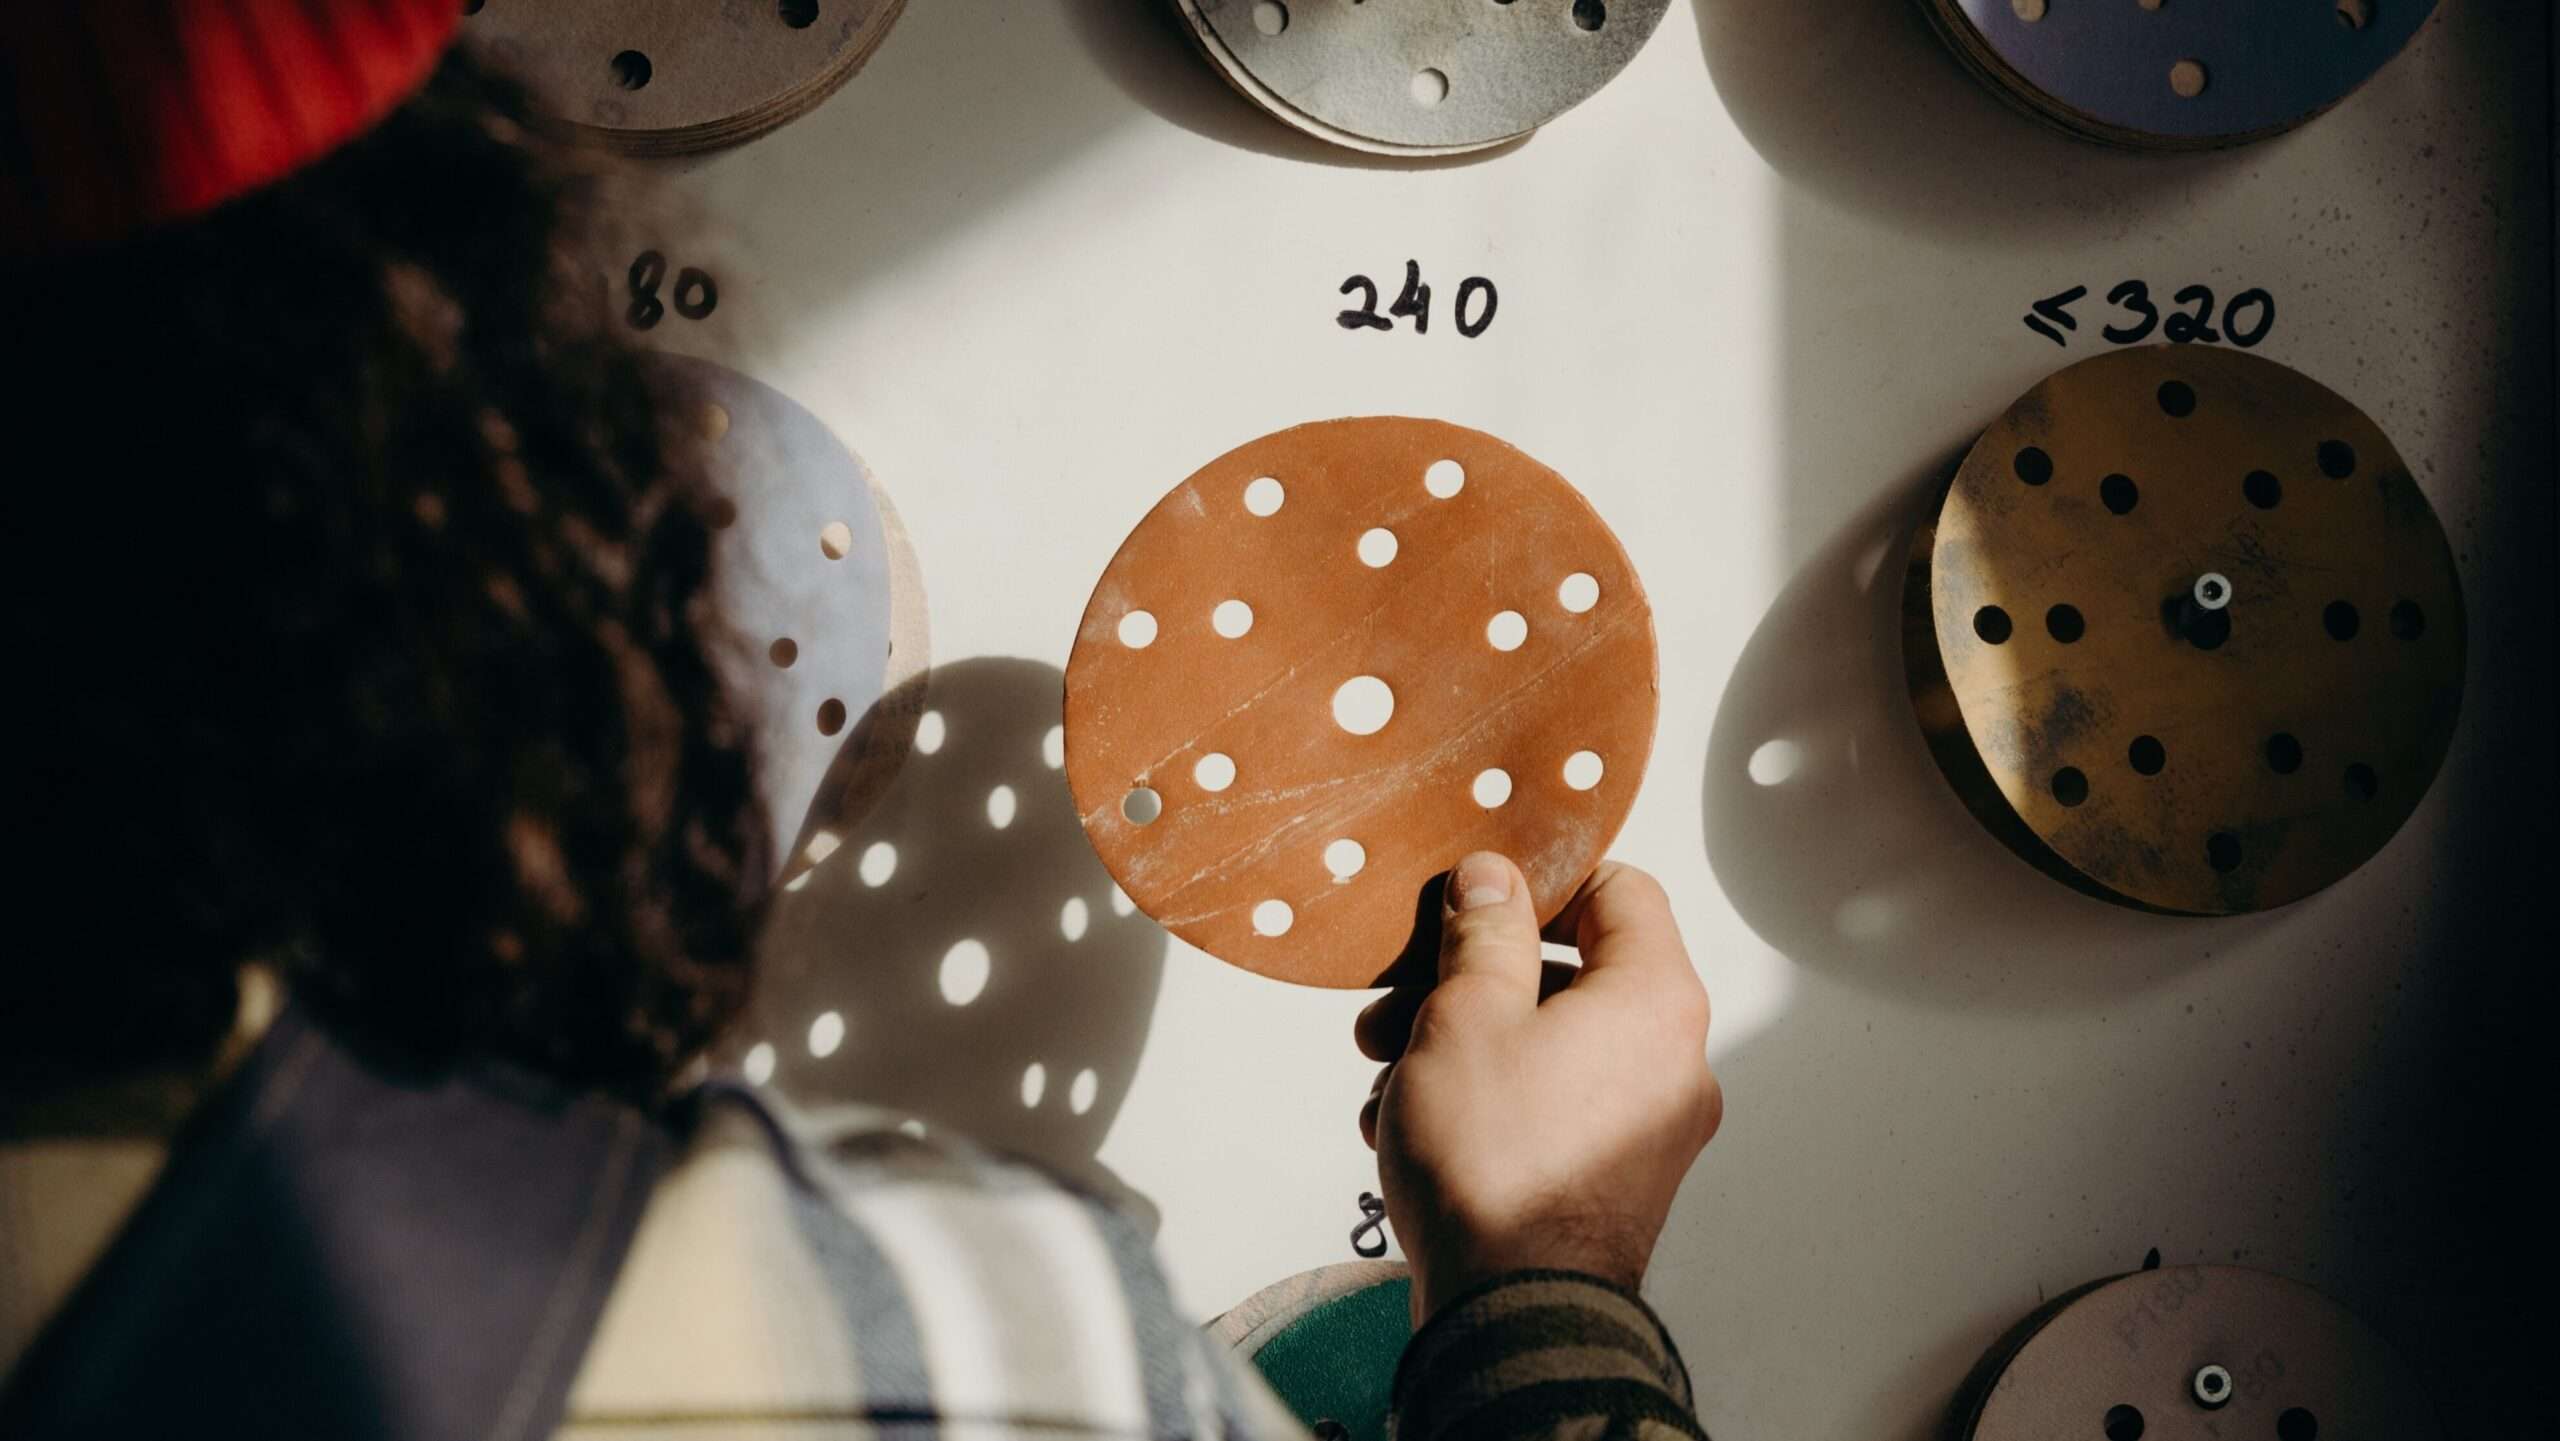
For repairing deep paint scratches, wet sanding is a mandatory step. Using 3000-5000 grit sandpaper and soapy water, sand the scratch area to remove loose and peeling paint. Do not apply extra pressure while sanding the area because you don’t want to damage the surrounding paint. Remove all dusty residue and let the area dry.
Step 3: Apply Primer
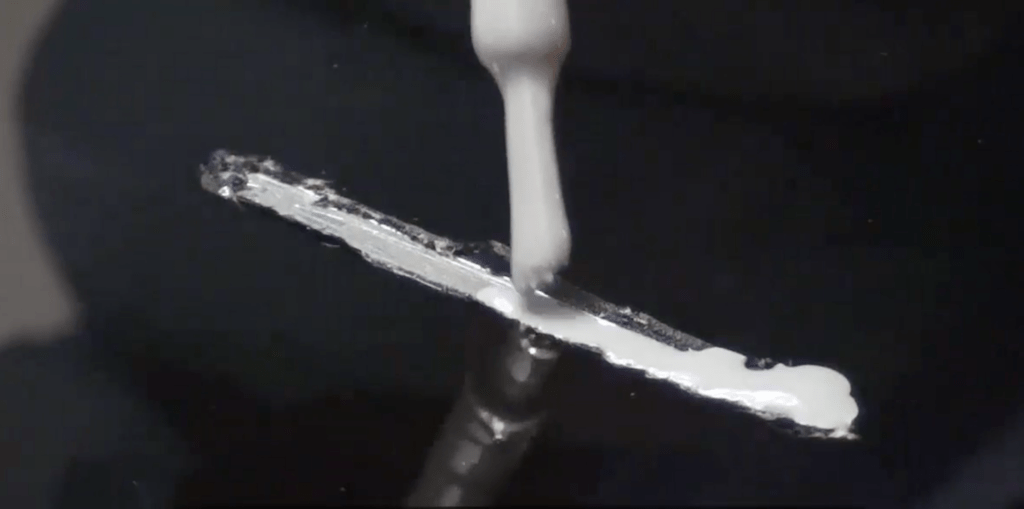
Once your paint scratch area is prepared, it’s time to apply primer. Prepare primer mixture following the directions of use to your primer and spray it on the repair area. Let it dry completely before moving to the next step.
Step 4: Apply Touch-Up Paint
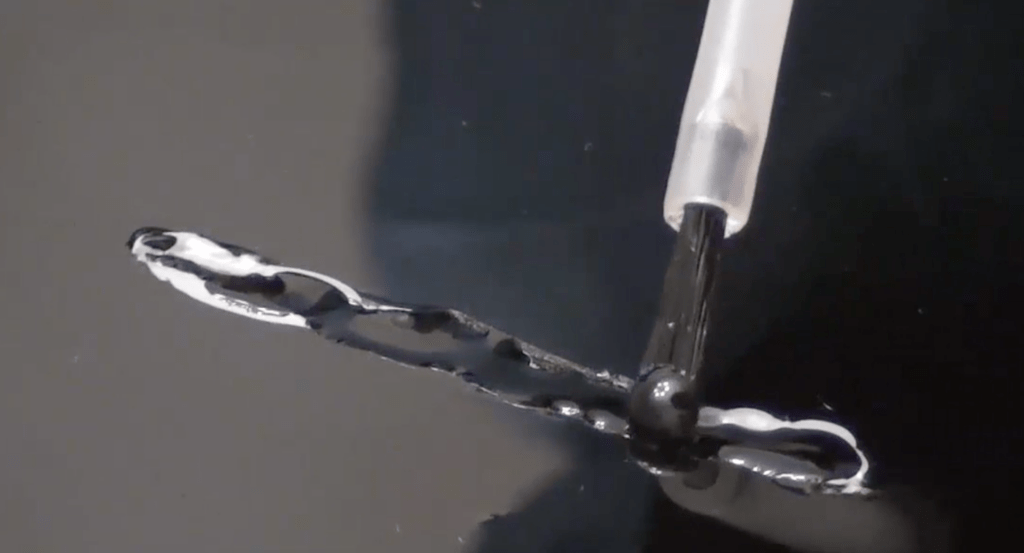
Once the scratch area is dry, you can apply touch-up paint to it. Choose to match your car color touch-up paint and apply it carefully to the scratch using a small brush or a pen. You need to fill the scratch with paint without going above the surface. Allow the paint to dry completely before moving to the next step. Drying can take around 48 hours.
Step 5: Apply Clear Coat

To protect the repaired area, cover the scratch with a clear coat. Apply it using a small brush, and be sure that after applying a clear coat, repaired area is a bit above the surface. Let it dry completely. Drying can take around 48 hours.
Step 6: Sanding and compounding

Using 3000-4000 grit sandpaper, level up the repaired area to the surrounding paint level. Be accurate, and make sanding bit-by-bit, otherwise, you can go too deep, and you will need to start the process from the beginning.
Pick a suitable compound and polisher pad for your paint, and using a polisher or by hand, flatter the surface after sanding. When you compound your scratches, make it on a wider area than you use for sanding. For a complete look, you can make a light polishing.
Professional Car Scratch Repair: Paint Correction, Wet Sanding, and Machine Polishing
Car scratches can be a frightening sight for every car owner, and sometimes for repairing scratches without leaving visible results on a car, DIY methods are not enough. When car paint scratches are too deep or extensive for DIY repair, this is where professional car scratch repair comes into place.
A professional repair will cost more than a DIY repair, but you will get professional results and will save tons of time. Always consult with professionals in car scratch repair to ensure that your car will get the repair and repair way will be safe and correct.
If you have a problem choosing a detailing service, check our guide to choose the best detailing service near you.
In this paragraph, we will take an in-depth look at the three most popular professional car scratch repair methods: paint correction, wet sanding, and machine polishing.
1. Paint correction
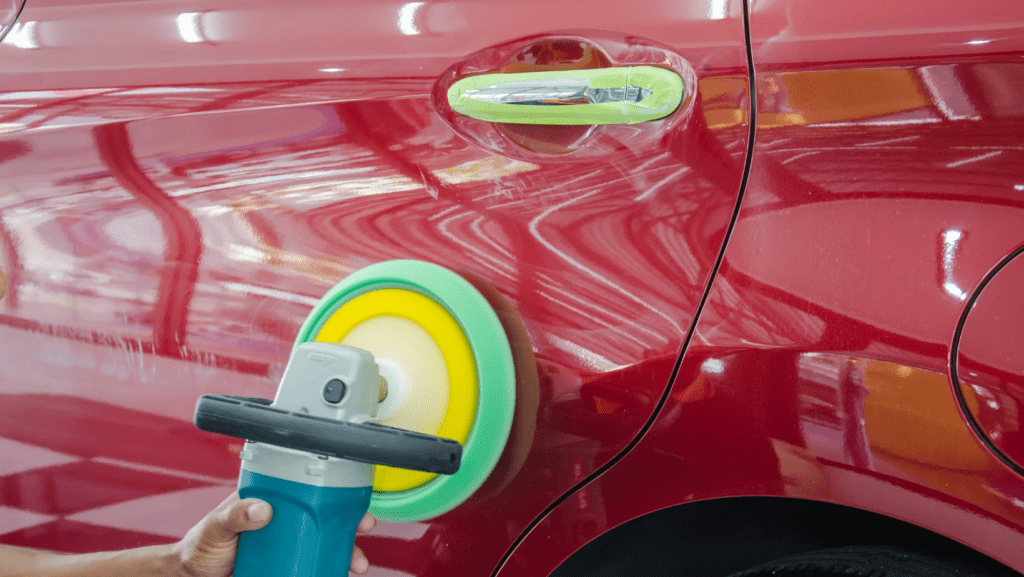
Paint correction is a professional method of clear coat scratch repair that involves partial removal of the top layer of the car’s paint to eliminate swirls, scratches, scuffs, and other imperfections. This process is also known as compounding and polishing. A professional detailer will try to restore deeper scratches using touch-up paint and a clear coat. Sometimes paint correction is a combination of wet sanding and machine polishing.
Such a method is typically done with the help of a suitable compound for your car’s paint specifications that will gently remove a required layer of the clear coat without damaging underlying layers. Paint corrections also improve the overall appearance of an auto by restoring shine, depth of color, and a cluster of car paint.
Pros
Paint correction is an effective way to remove swirls and scratches from a clear coat and to boost the shine and glance of your car paint. Such a method is relatively more affordable than other professional car scratch repair methods.
Cons
While paint correction works wonderfully on minor scratches and scuffs, it may not be as effective on deeper or more extensive scratches. Above this, you can use paint correction only a limited number of times until the clear coat layer is not too thin.
2. Wet sanding
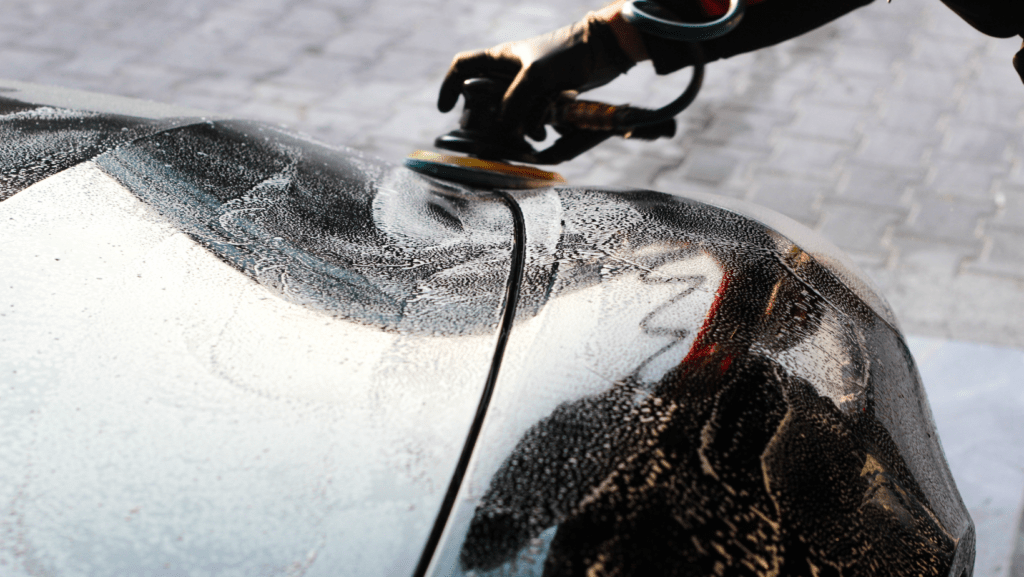
Wet sanding is a professional car scratch repair method that involves removing a thin layer of car paint with abrasive materials like sandpaper with soapy water. Usually, this process is done by hand or with a special machine and requires high-level skills and precision. Wet sanding is a perfect solution for removing deeper scratches that cannot be repaired with paint correction.
Pros
Wet sanding can remove deeper scratches and imperfections. It is used to restore the original finish of car paint. This method does not require expensive tools and materials, so it is a relatively affordable method of paint correction.
Cons
Wet sanding requires a high level of skills and precision, and it can only be done limited times until the paint layer will be too thin. Usually, wet sending requires compounding or polishing as a final stage which makes this method more price than paint correction.
3. Machine Polishing
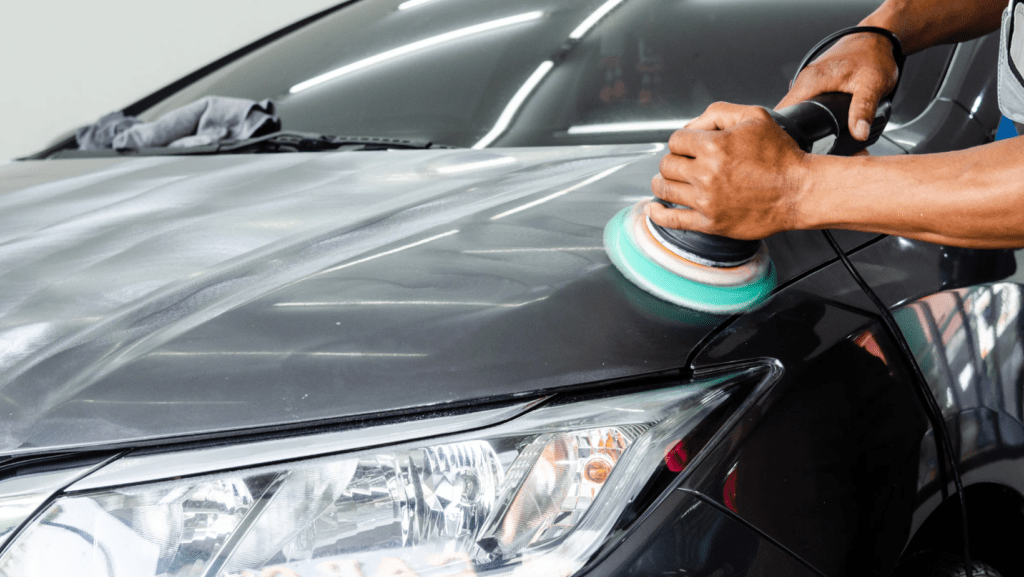
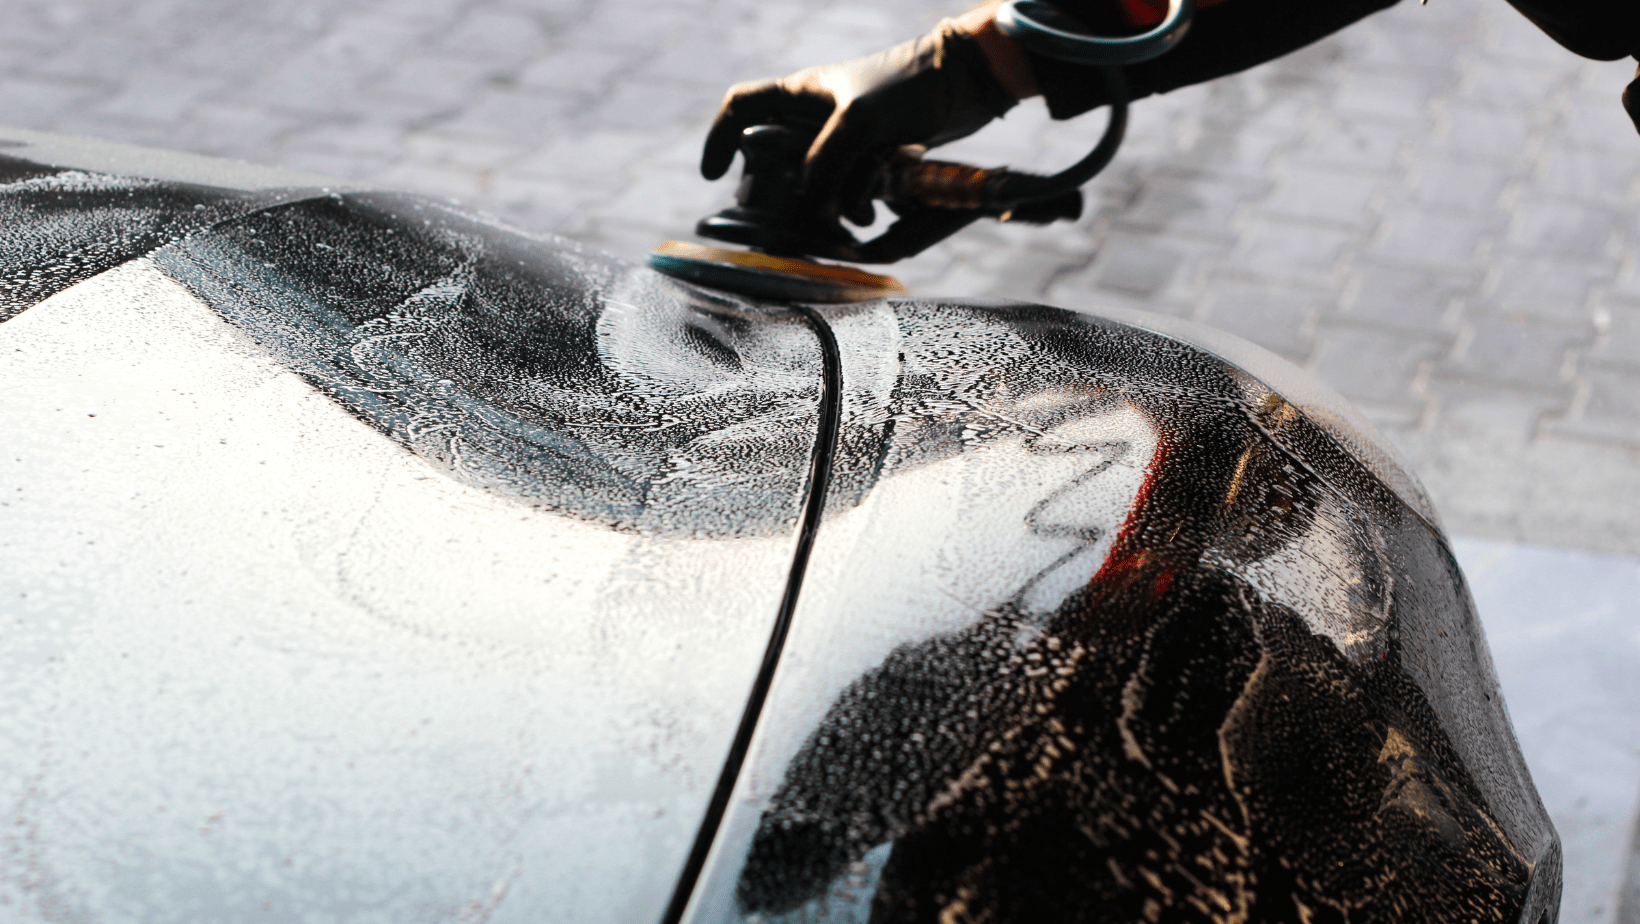
Machine polishing is a professional car scratch repair method that involves using a professional dual-polisher machine to buff and polish the car’s paint. This method is perfect for removing minor scratches, swirls, paint fading, and other minor imperfections. This process is usually done with a dual-action polisher and compound and requires high skills and accuracy. Ideal for removing swirls and restoring the car’s paint shine.
Pros
Machine polishing is an effective way to remove minor scratches and swirls, and it can be done relatively quickly compared to other professional methods.
Cons
This method can remove only minor imperfections, and it can be difficult to achieve desired results without proper skills and equipment.
Prevention Tips: How to Avoid Car Scratches
As we all know, the best way to repair car scratches is to avoid them. In this paragraph, I want to provide you with some tips and suggestions on how to prevent and avoid car scratches and how to protect your car’s paint.
Preventing car scratches is always the best course of action, as, with proper care and maintenance, you can avoid such questions as car scratch repair. Usually, avoiding scratches and protecting your car’s paint will be more affordable than visiting professionals to repair scratches.
1. Choose the Right Washing Tools
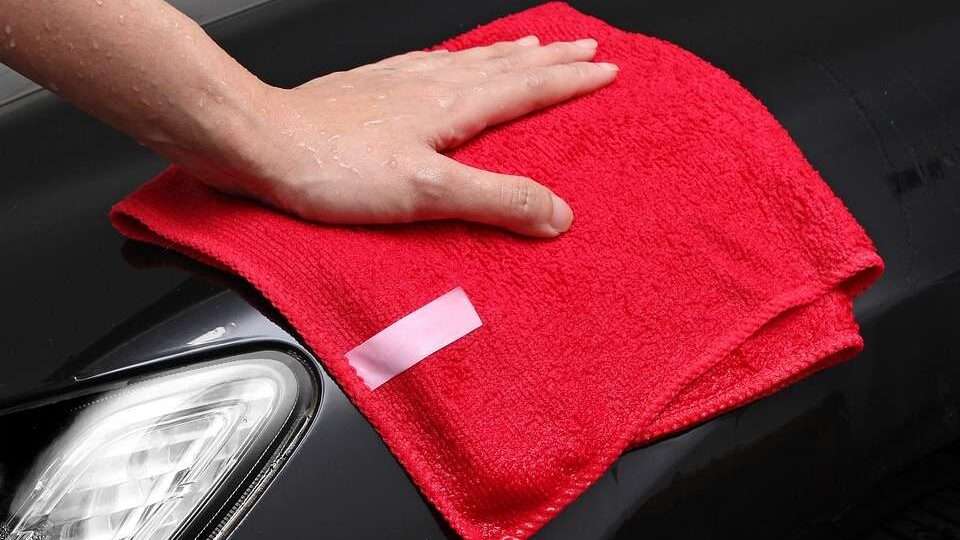
One of the main reasons for minor car scratches and swirls is using the wrong washing tools. Avoid using abrasive sponges and brushes that can scratch the paint’s surface. Instead, use high-quality wash mitts, microfiber towels, and gentle pH-balanced car shampoos. Be sure to rinse the car to remove all dirt, debris, and sand grids before using car wash mitts on paint. Check our list of the best detailing tools.
2. Park in Safe Areas
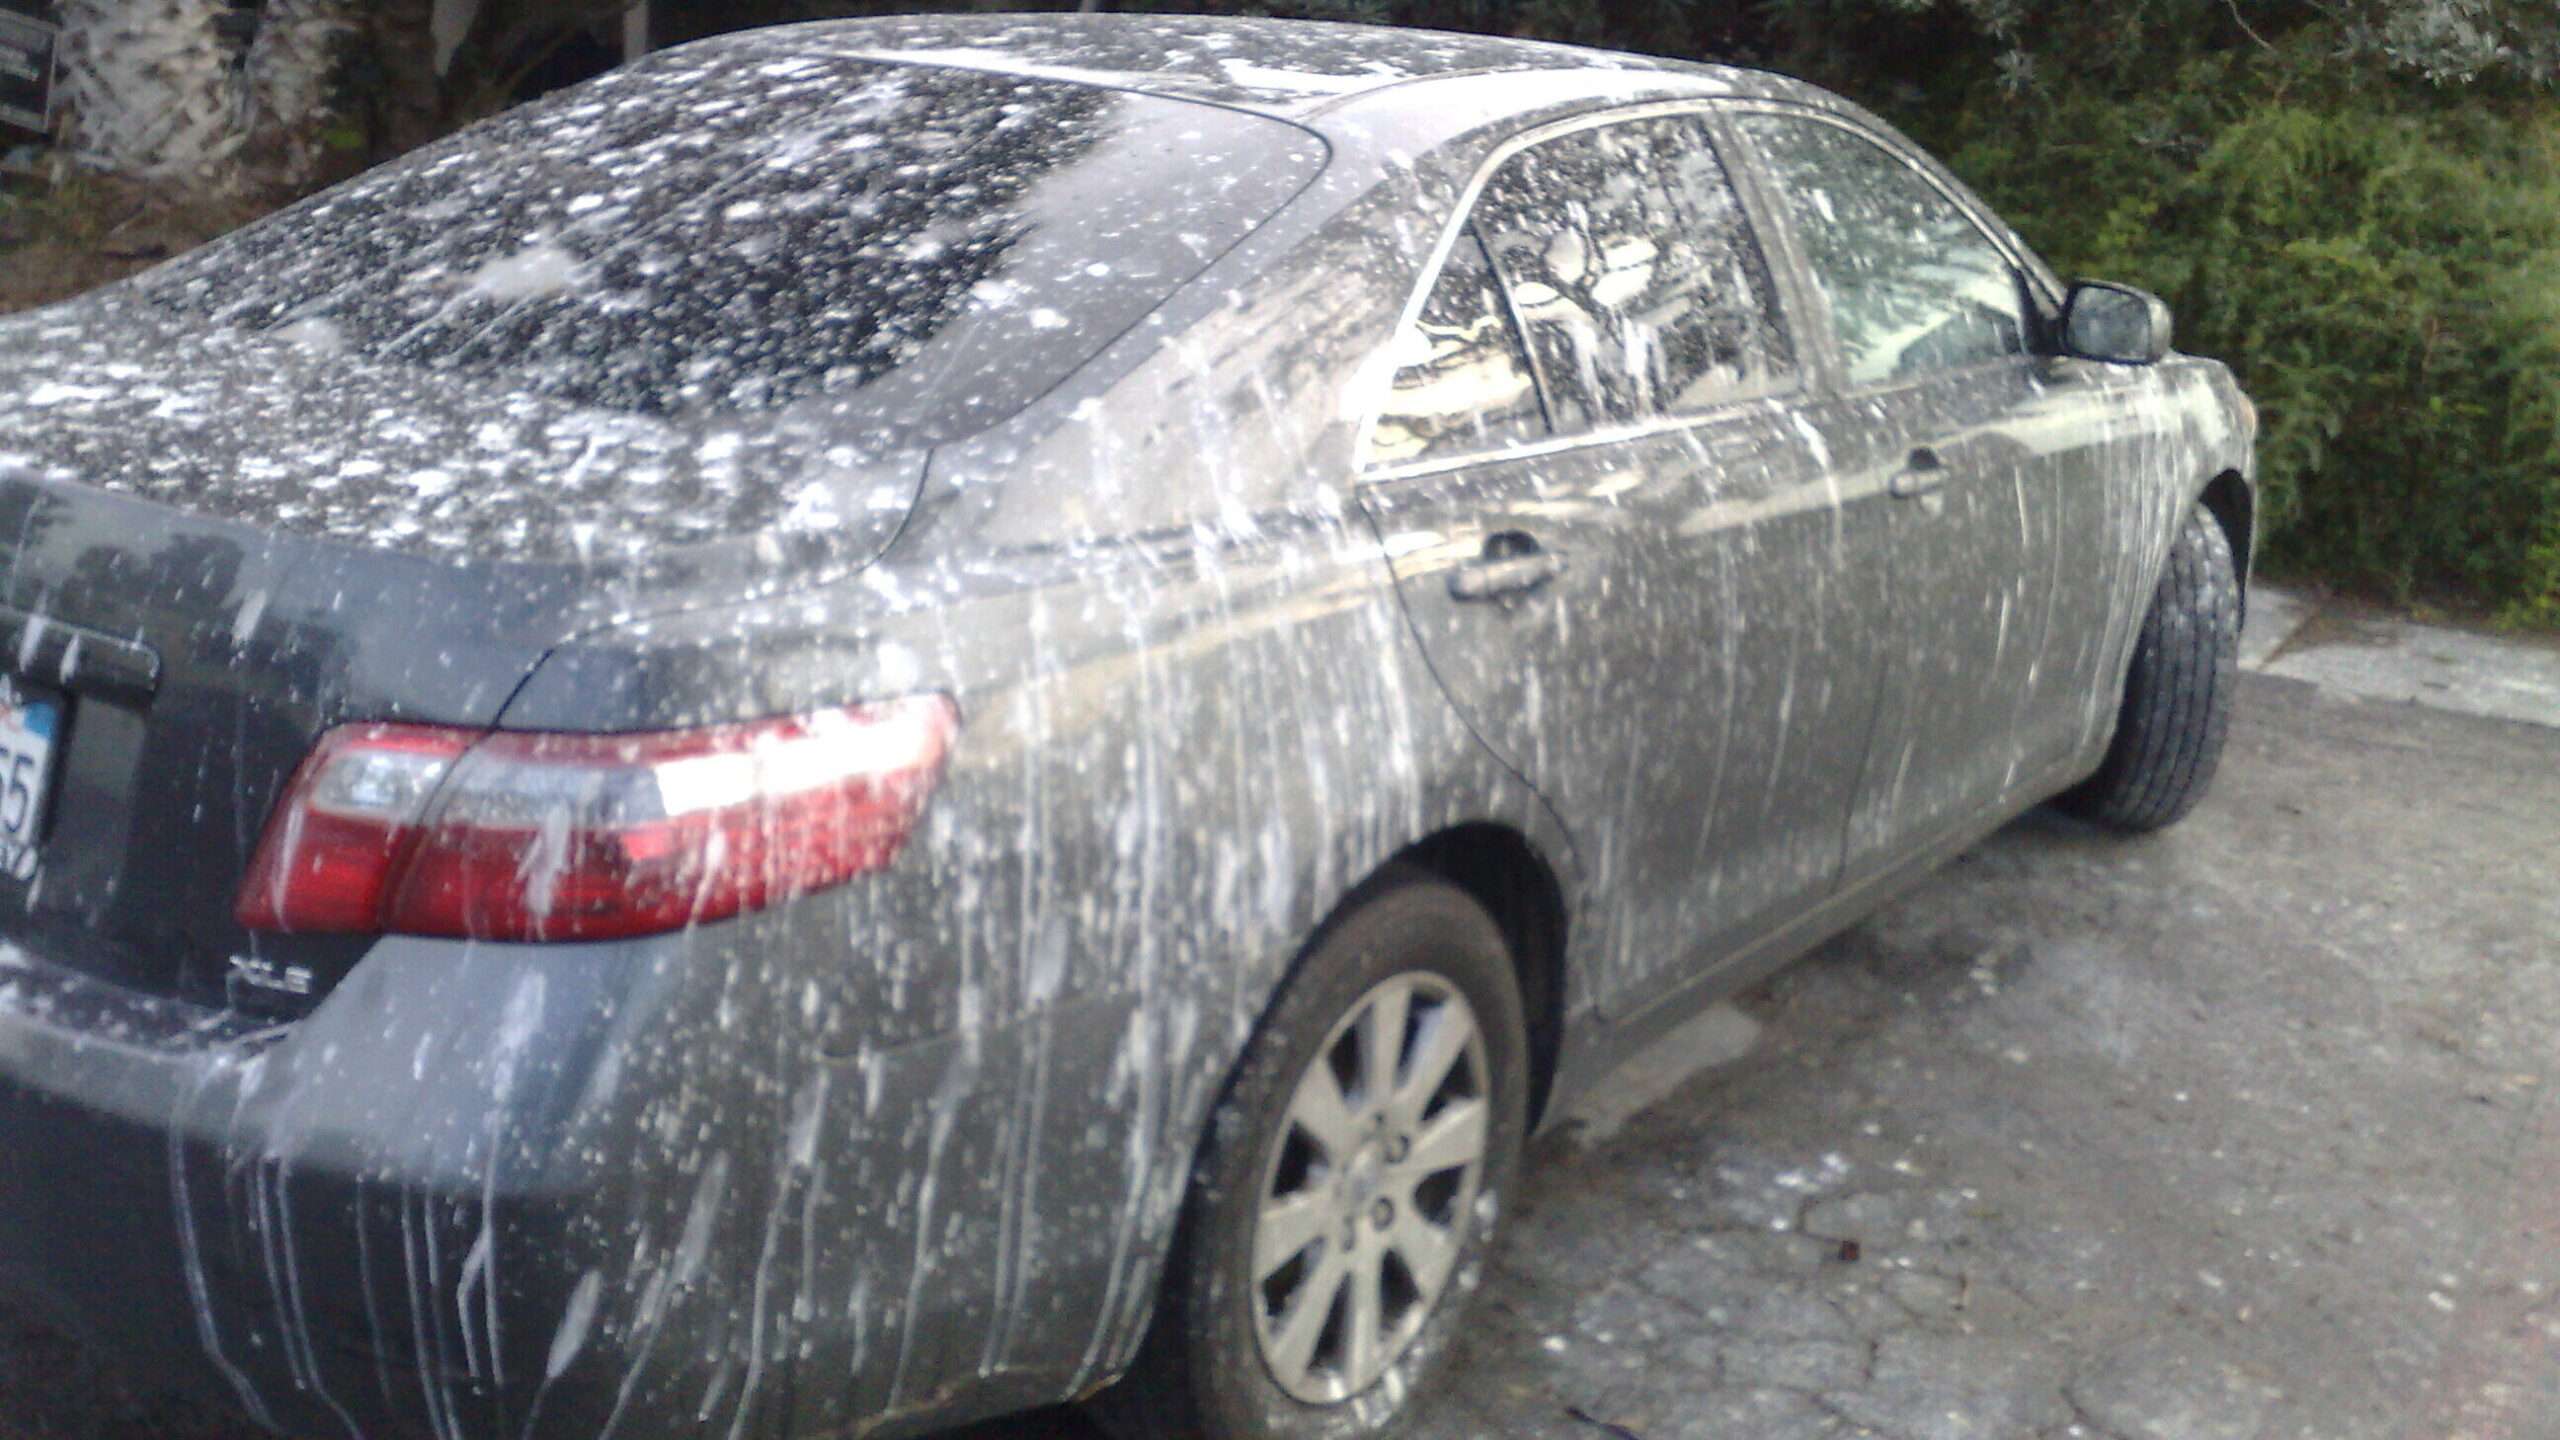
Another way to avoid car scratches is to park in safe areas. Avoid parking your car near trees, bushes, and other things that can potentially scratch your vehicle. Be careful with parking near high-rise buildings as something can fall from its windows directly on your car. The best way to park your auto is under the covered car parking space.
3. Use a Car Cover
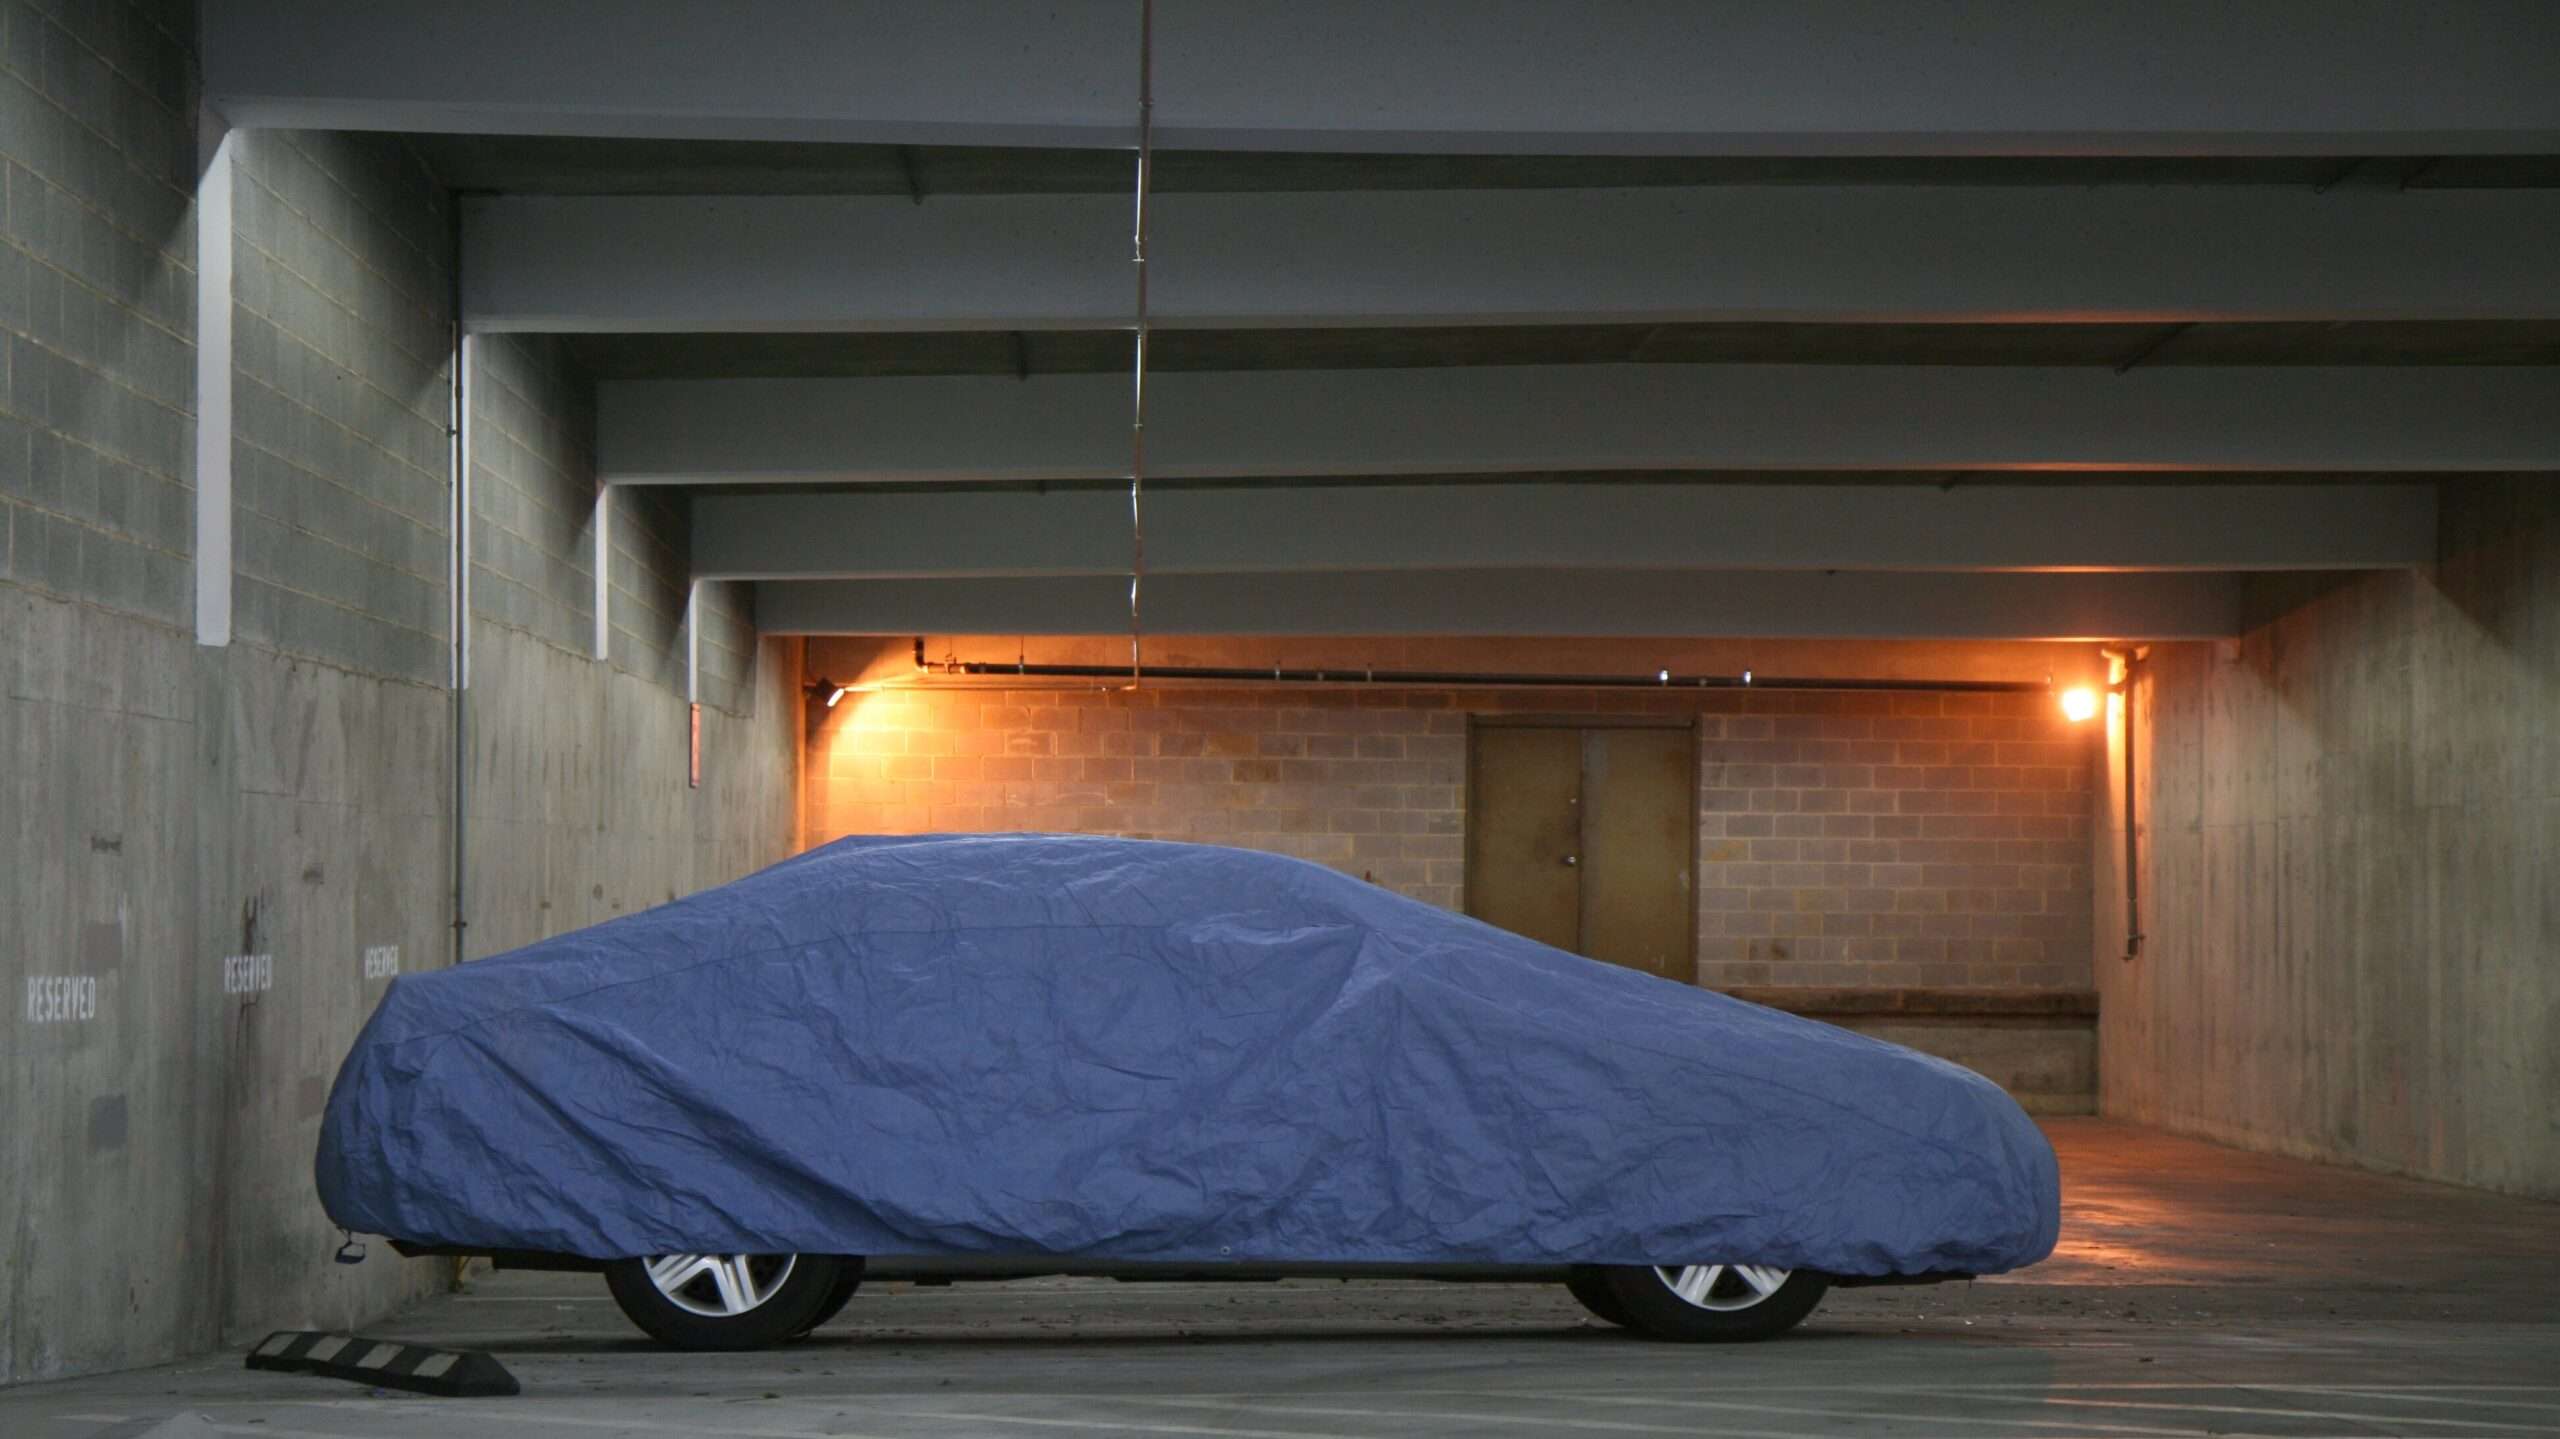
Using a car cover is another effective way to prevent car scratches. A car cover can protect your car from dust, dirt, and other debris that can scratch the paint’s surface. Be sure to choose a cover made from a breathable material to prevent moisture buildup. The cons of such a method are that to protect your car from scratches instead of leaving more, it needs to be clean before you cover it. If you park a dirty car outdoors and cover it with a cover, due to imperfect fitment and wind, the car cover will rub your car and leave more scratches.
4. Protect Paint Surface and Maintain Your Car’s Finish
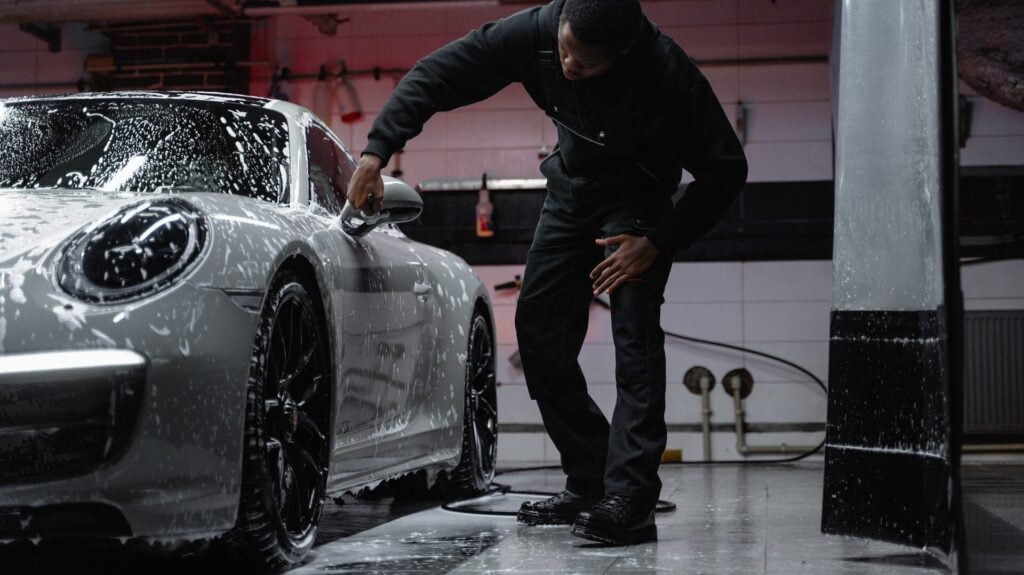
In addition to previous tips, it is relevant to protect your car’s paint surface to minimize leaving scratches on it.
- Regularly waxing a car will protect your vehicle from minor scratches, UV light, and other environmental factors. If you are not sure if you need to wax your car, check our car waxing benefits and drawbacks.
- Ceramic coating creates an additional hard protective layer above the clear coat that helps to avoid ruining your car paint but don’t forget to maintain your ceramic coating.
- Use paint protection films or car wrapping. It is an expensive but highly effective way to protect the car from dents and scratches. It can help to avoid even scratches after low-speed accidents.
Additionally, avoid using harsh chemicals and abrasive materials while cleaning your car to prevent leaving scratches.
Conclusion
In conclusion, car scratches can be a frustrating and scary problem for any car owner, but they don’t have to be the reason to panic. With proper knowledge and techniques, you can effectively repair car scratches with professional or DIY methods. Once you correctly identify the type of scratches you have on your car’s paint, you can determine the approach to repair them. Be sure to know about faded car paint repair.
DIY methods such as clear coat scratches repair or primer scratches repair can be affordable and straightforward, while professional such as paint correction, wet sanding, and machine polishing can provide more extensive and precise results. Additionally, tips to prevent scratches, such as choosing proper washing tools, parking in safe areas, using a car cover, and protecting your car’s paint surface, can help you avoid scratches altogether. By taking these steps, you can maintain the appearance and value of your vehicle for years to come.
