Best Headlight Restoration Kit: Guide to Brighter Nighttime Driving
As a responsible car owner, one of your responsibilities is ensuring that your car is safe for driving and in good working condition. Among essential car maintenance procedures, you should take care of your headlights. Over time, headlights can become cloudy, hazy, or yellowed, causing lower visibility while driving at night and also blinding other drivers. Let’s not forget that cloudy headlights are ruining your vehicle’s appearance. Fortunately, restoring headlights is not a daunting job. In this post we will provide you with a detailed guide to Headlight Restoration DIY, using two available ways, deep restoration with sandpaper, and the best headlight restoration kit.
Best Headlight Restoration Kit 2023
If you buy something through links in this article, we may earn a commission but it does not impact our advice or the price of your purchase. Learn more.
Why You Need to Restore Your Headlights
The main reason you should restore your headlights is to improve safety while night driving. Over time, headlights can become cloudy, and hazy, headlight’s protecting layer can start pealing off, making your nighttime visibility poor. This happens due to exposure to the sun, dirt, debris, and harsh chemicals.
It can be dangerous, especially if you frequently drive in low-light conditions, because cloudy headlights reduce the illumination of the road ahead, and you can notice hazards, animals, or pedestrians on the road much later than you should. Headlight restoration as well as windshield cleaning can help you avoid accidents caused by poor visibility and make your driving experience safer and more comfortable.
Additionally, cloudy and hazed headlights make your car look older and worn out. Restoring your headlights can make your car look new again, and boost its overall value. If your car paint is faded, it can also ruin its overall look, so don’t forget to check our guide to faded car paint repair so you can make your car look like new again!
Best Headlight Restoration Kit
If you are not confident in gathering supplies for a DIY headlight restoration, there are plenty of Headlight Restoration Kits on the market. Usually, they have all the necessary supplies for restoration. Such kits can make preparation and the process itself easier and faster. Here are some of the best kits for headlight restoration DIY:
Cerakote Ceramic Headlight Restoration Kit
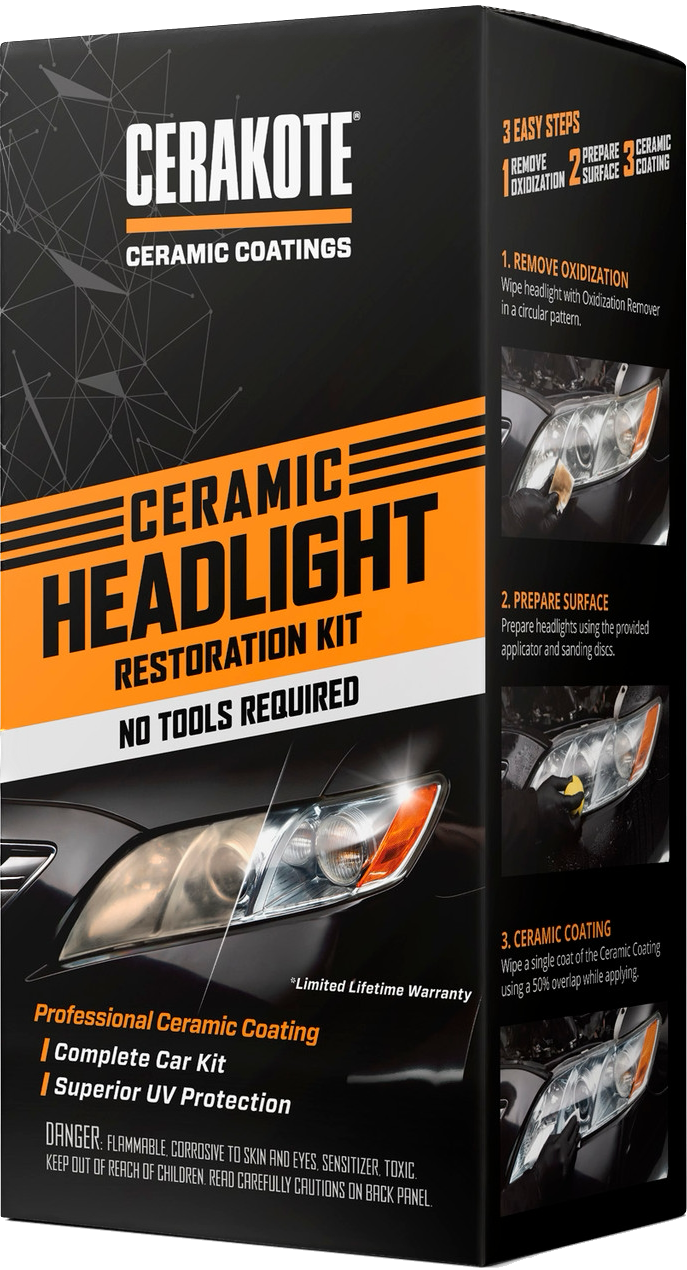
Cerakote is a comparable new but already proven brand that provides amazing products with ceramic technologies. The same with their Headlight Restoration Kit. It has all the necessary tools and products included, so you can restore your headlights anywhere. Cerakote guarantees that this coating will last as long as your own vehicle, if not, they will give you the next kit for free! Sounds confident, isn’t it?
Sylvania Headlight Restoration Kit
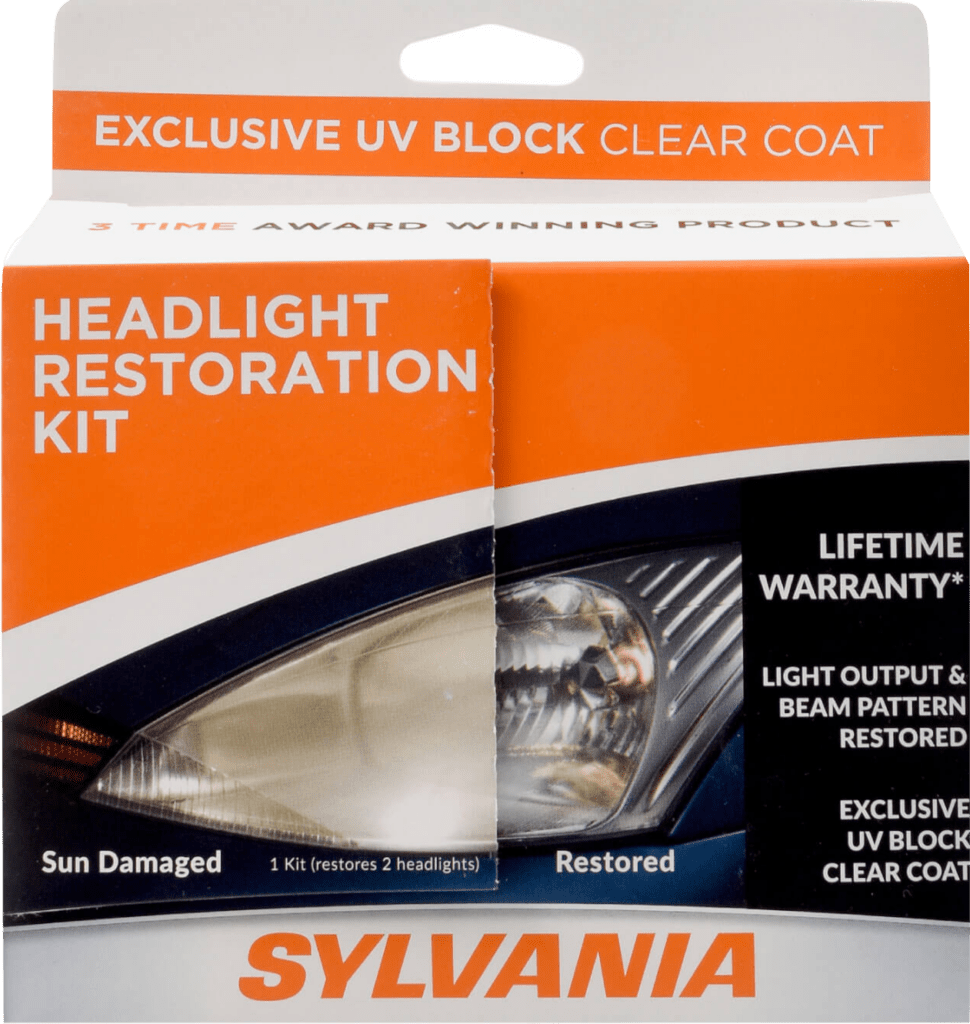
Sylvania kit is user-friendly and includes sanding paper, surface activation spray, clarifying compound, and a UV-blocking clear coat to protect your headlights from future damage. As well, you get the necessary application pads and even protection gloves. Sylvania also provides a lifetime warranty on the performance of this kit if installed correctly.
3M Headlight Restoration Kit
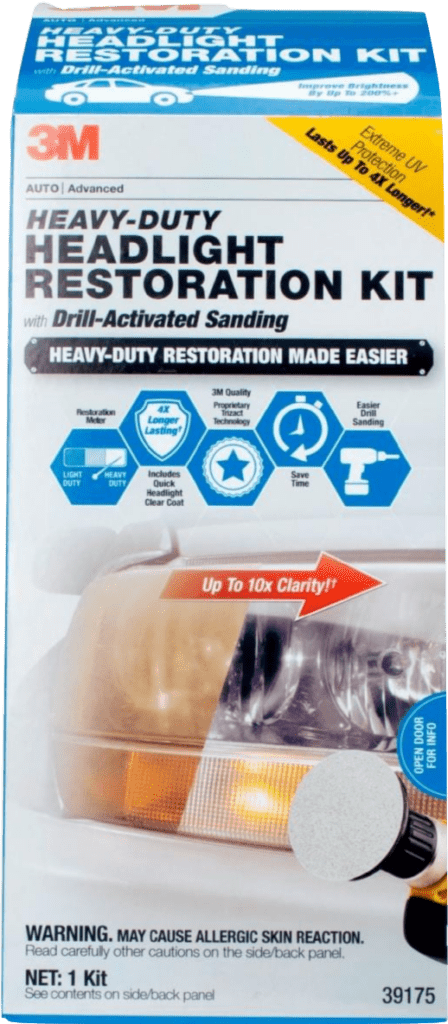
A popular solution among car enthusiasts from 3M. It includes everything you need for the job, except perhaps only protective equipment like nitrile gloves and eyewear. With this kit, you get sanding discs, a polishing pad, a drill nozzle, compound to remove scratches and restore the clarity of headlights. As well, you get masking tape and protective wax.
Meguiar’s Two Step Headlight Restoration Kit
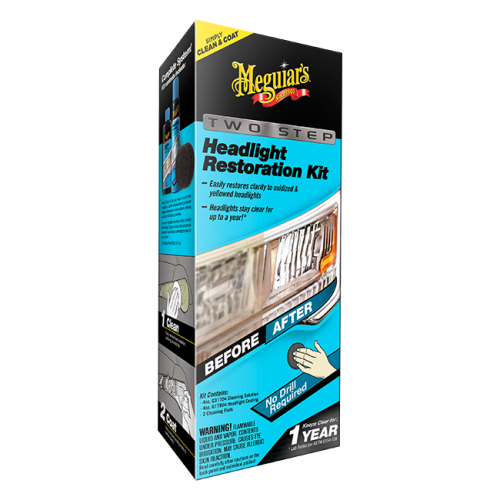
Meguiar’s is a trusted name in car care, and its headlight restoration kit is no exception. It has all the necessary supplies for restoration, like abrasive pads, a cleaning solution, and a headlight coating. The results of such restoration will last up to one year.
Turtle Wax Headlight Lens Restorer Kit
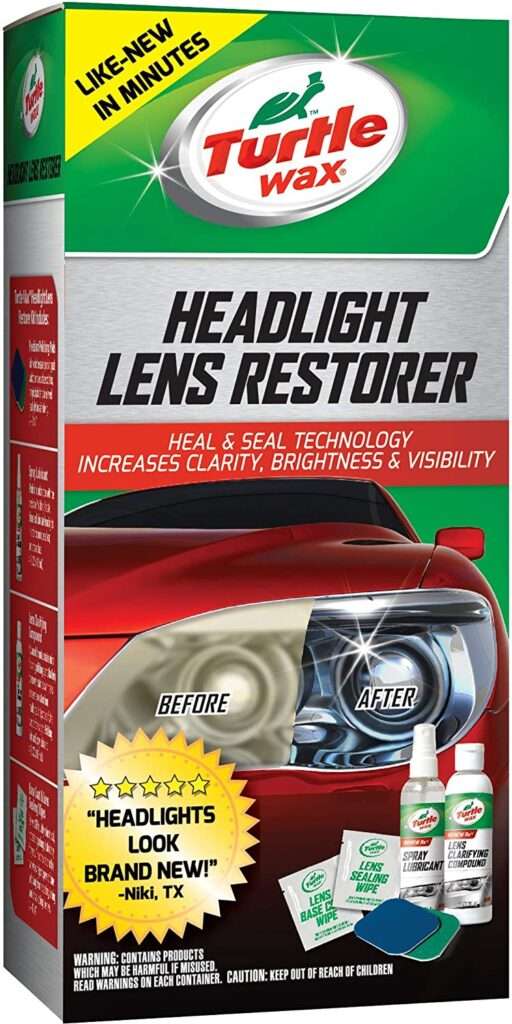
It is an affordable and easy-to-use kit. If the protection layer of your headlight is still present on it and not peeling off, this kit will fit your needs. It includes a lens clarifying compound, a spray lubricant, restoration pads, and a lens sealing wipe to protect your headlights from future damage.
Headlight Restoration DIY Supplies
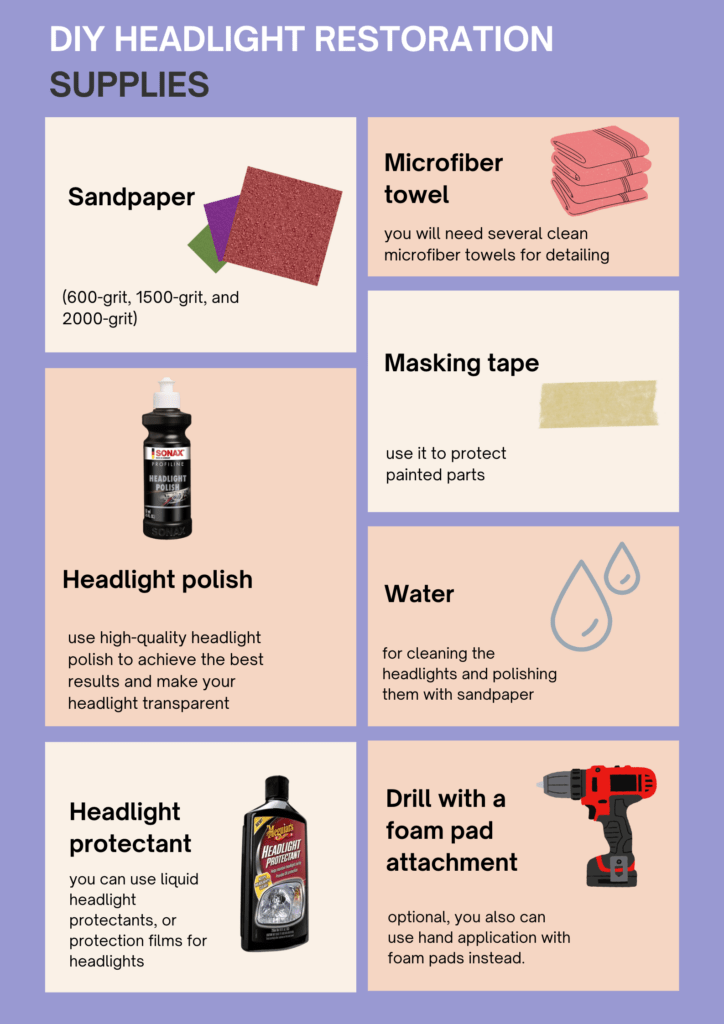
Before you start restoring your headlight, you may need to collect some supplies. For deep headlight restoration, when the protective layer of your headlights is peeling off, you will need:
- Sandpaper (600, 1500, 2000-grit)
- Masking tape
- Microfiber towels
- Water
- Headlight polish
- Headlight protectant or protection film
- Drill with a foam pad, or headlight polish applicator
If you use a headlight restoration kit, you usually have the supplies you need for restoration. Additionally, get several clean microfiber towels, masking tape, and water for cleaning your headlights.
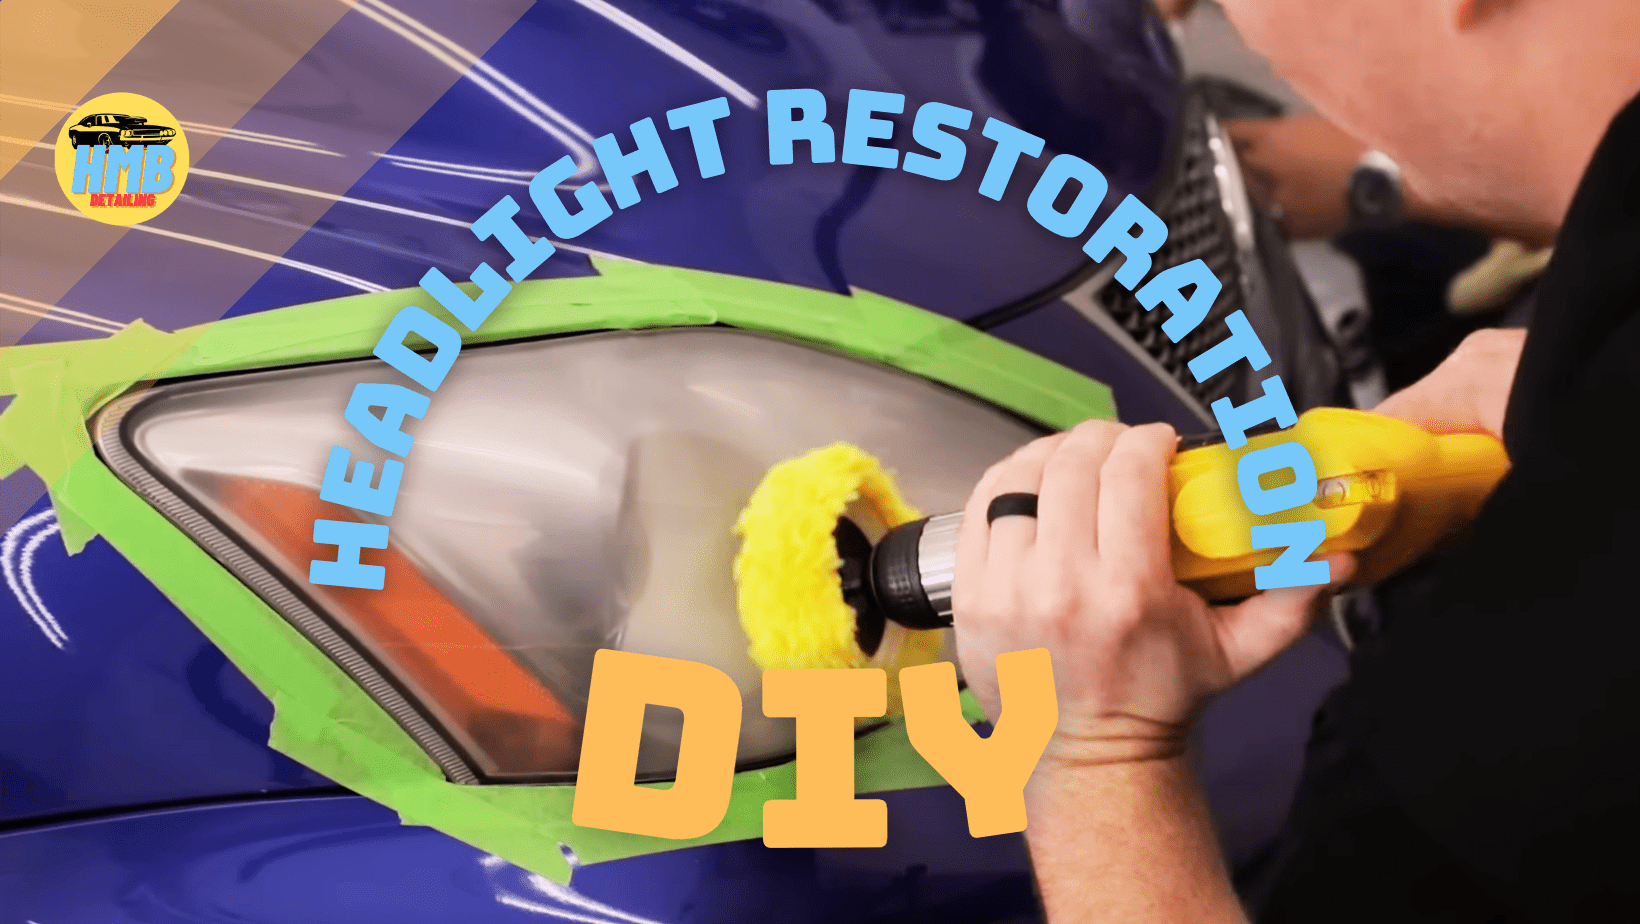
Step-by-Step Guide to Restoring Your Headlights
Once you get all the necessary supplies, it’s time to bring your headlight back to life. Follow these steps for DIY headlight restoration:
Clean your headlights
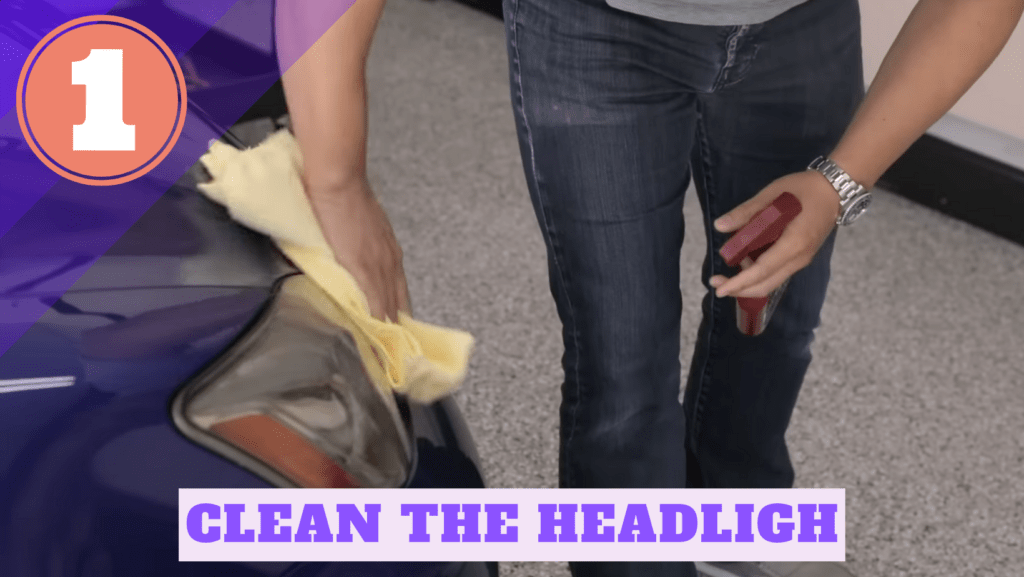
Before you start sanding, make sure that your headlights are clean and free from any dirt and debris.
Assess the damage
If your headlights are just a bit yellowish or cloudy, but the main protection layer is still there and not peeling off, you may need only polish and liquid protection, without sanding. If the protection layer is pealing, you should remove it first with sandpaper.
Mask painted parts
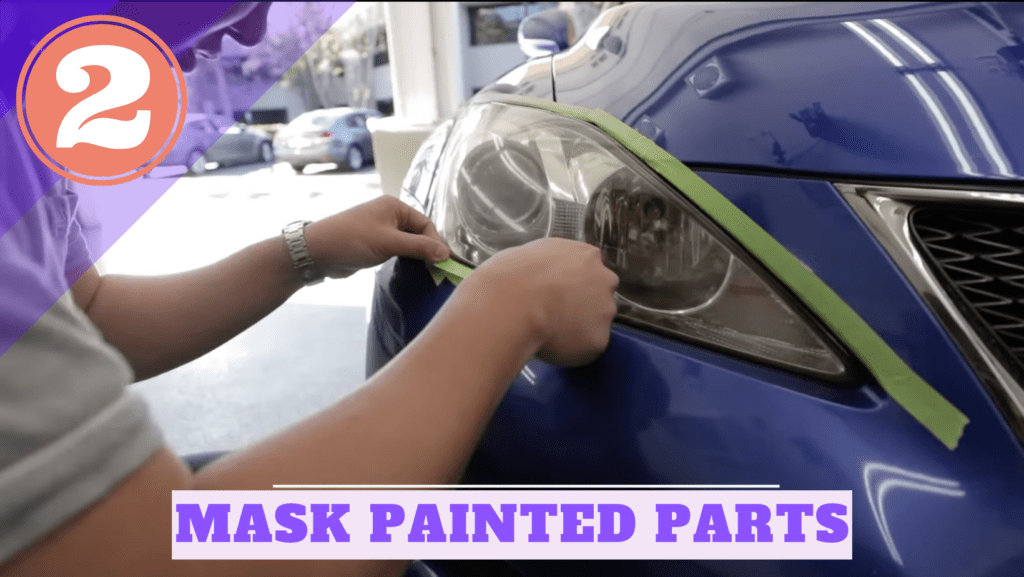
Use masking tape to cover any painted or sensitive surfaces around your headlight. You want to be sure that you will not damage the paint or plastic of your car while sanding and polishing your headlights. If possible, you can even remove the headlights to make the restoration qualitative and accurate.
Sand the headlights
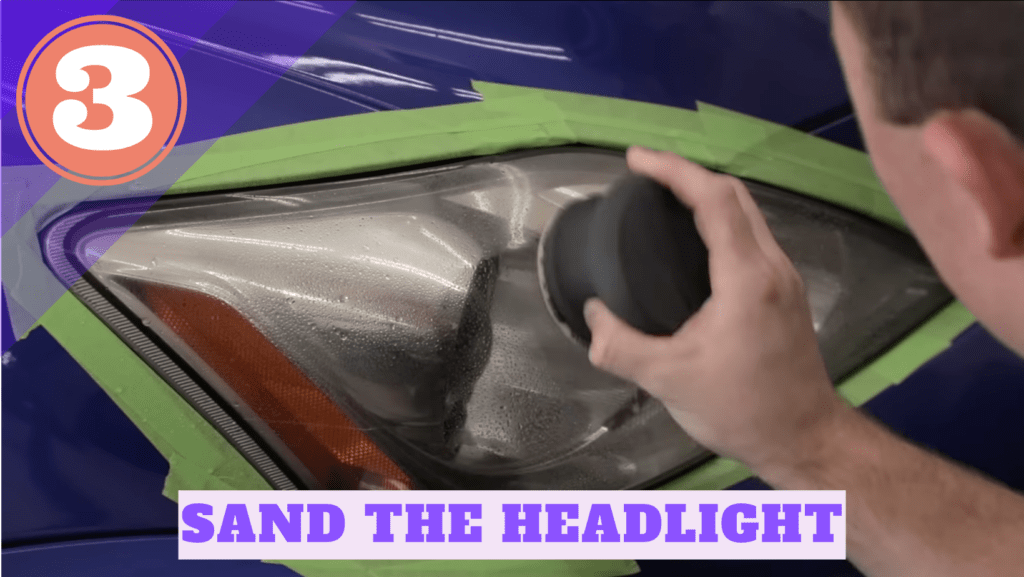
Start with 600-grit sandpaper with water to remove the cloudy layer from the surface of your headlights. If you have a pealing protection layer, remove it completely. Use a circular motion and be sure to sand evenly.
Move on to finer sandpaper
Switch to 1500-grit sandpaper and then to 2000-grit sandpaper, using the same circular motion. Be sure to keep the headlights and sandpaper wet to avoid any scratches.
Clean your headlights with soapy water, and let them dry.
Apply the headlight polish
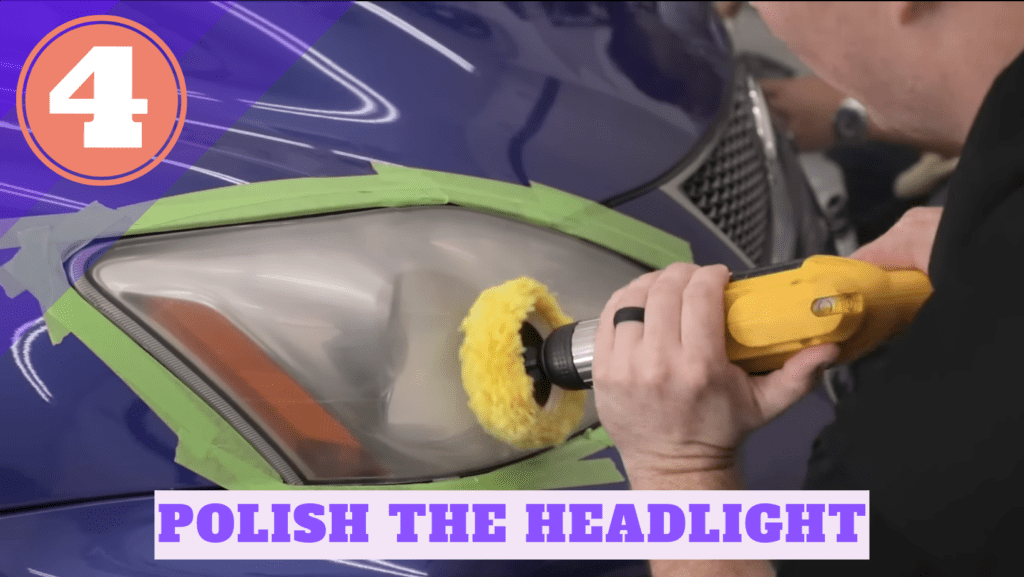
Apply a small amount of headlight polish to the hand applicator or foam pad of your drill, and use it to polish the headlights. Use a circular motion, and avoid excessive pressure. Repeat as necessary until you achieve a clear, polished surface. If you are common with polishing car paint, it will be a simple task for you.
Remove excess polish with a microfiber towel to leave the surface clean.
Apply a headlight protectant
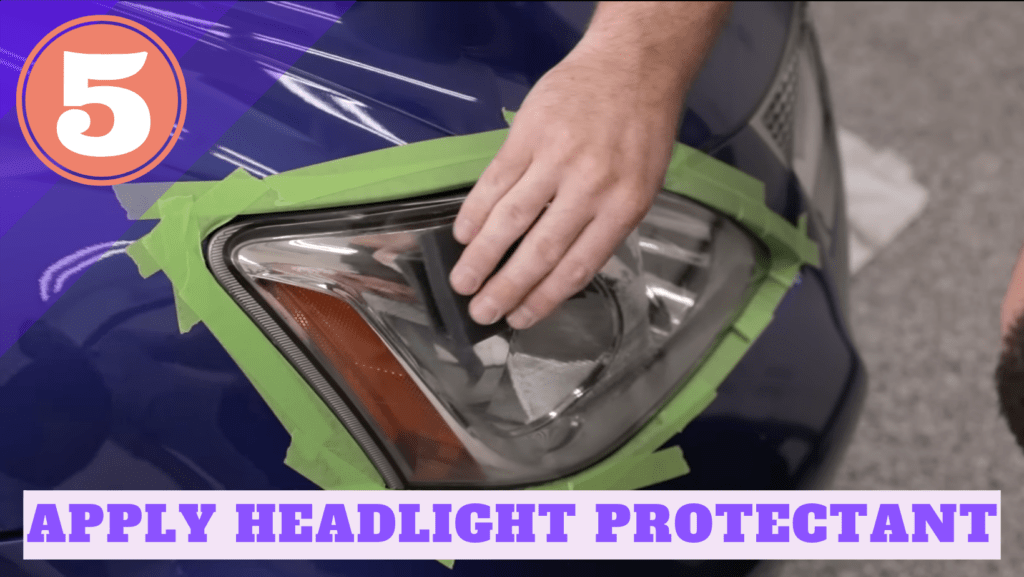
Use liquid headlight protectant to prevent the headlight from future damage. A better option is to protect the headlight with protective film. It will last longer, and provide a higher protection level. As well it provides a hydrophobic effect, which makes your driving during rain much safer, especially if you also use windshield water repellent.
Remember that you are removing a layer from your headlights when you sand and polish them, which means you cannot make it unlimited times. If your headlight protection layer is peeling off, and you need to remove it, you should better replace it with protective film, or reapply headlight protection regularly!
Conclusion
Headlight restoration is an easy and affordable way to improve the appearance and safety of your car and can be a useful step in preparing your car for winter. With just a few supplies and a bit of time, you can transform your cloudy and yellowish headlights into clear and like-new headlights.
Be sure to use high-quality products and our step-by-step guide to ensure the best possible results. Don’t forget to apply a UV protectant, headlight protectant, or a protective film to keep your headlights looking clear and prevent future damage. Achieving these goals will help the best headlight restoration kit! And once you will restore your headlights, don’t forget to restore black plastic on your car, so your car’s like-new look will be complete.
Find time the next weekend to finally restore your headlights and feel free to share your restoration results and leave your questions on our Twitter page!